electrical system
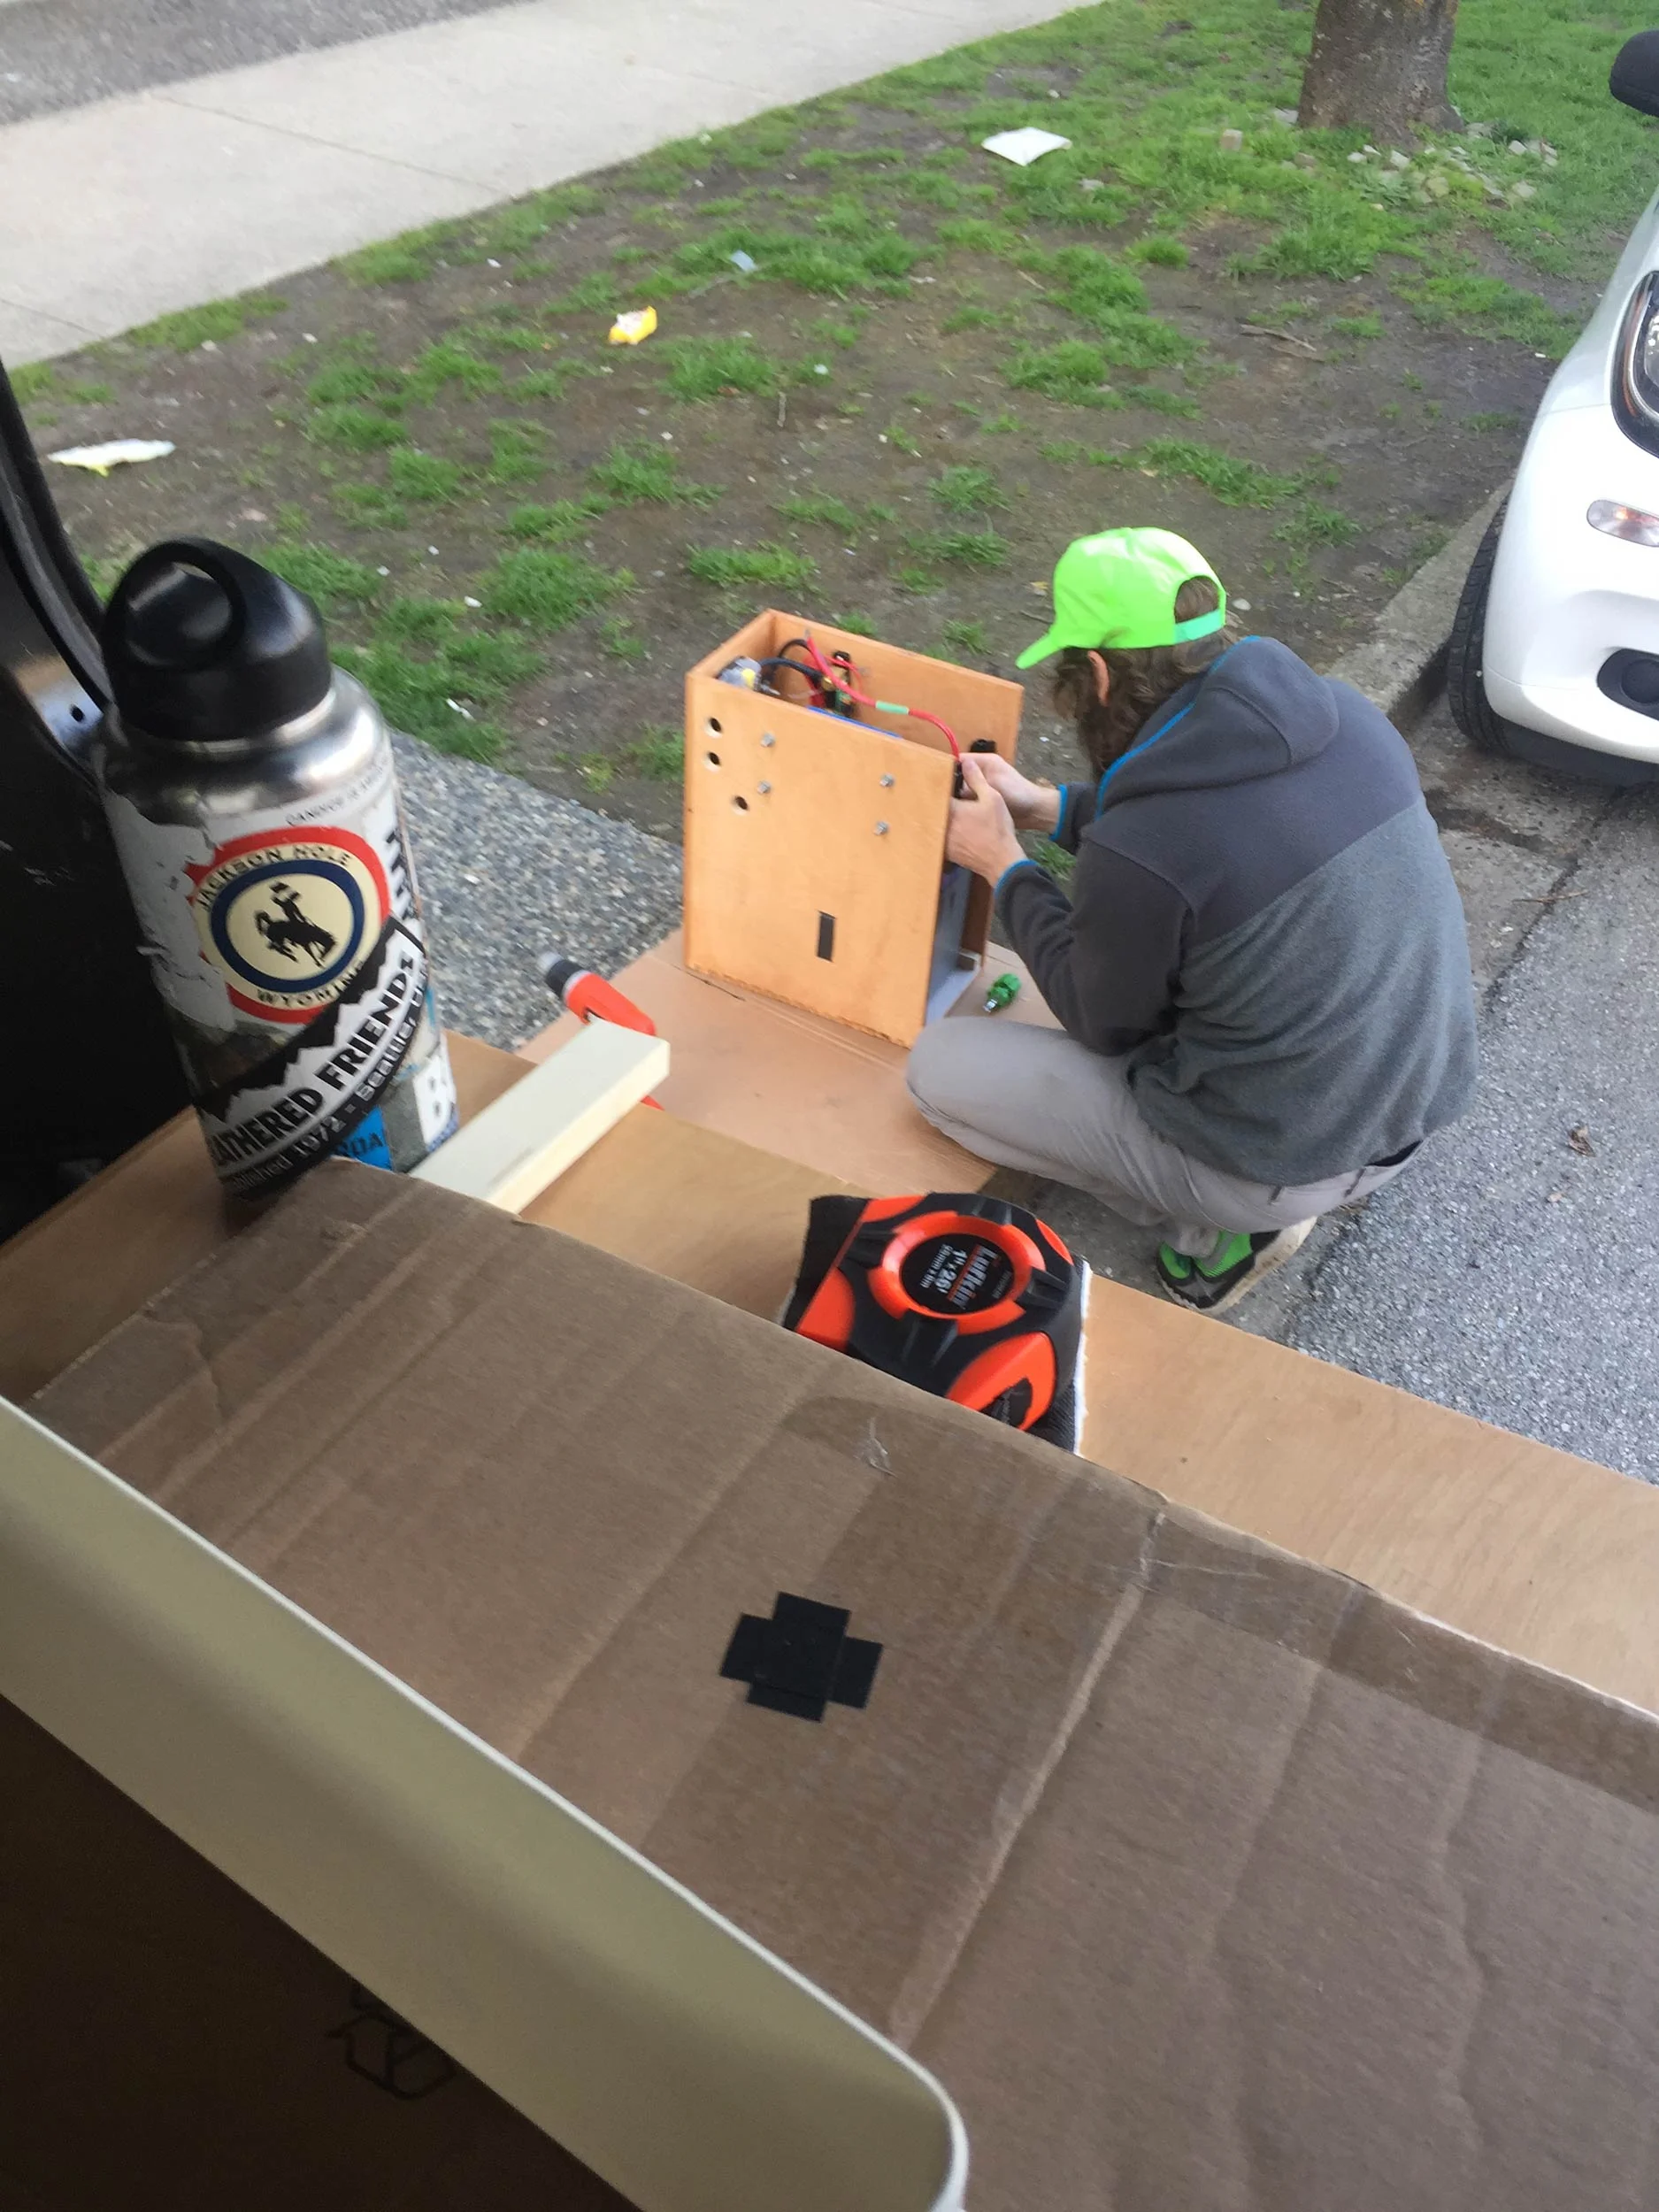
the electrical system has, by far, been the most intense and challenging part of our conversion yet. the consequences of building a cabinet (slightly less than square) are way less severe than messing up a system that can cause serious bodily harm or total catastrophic loss to the vehicle itself. i cannot stress enough that if you don't have any electrical experience, please seek the assistance of a professional electrician to guide you through this process. every build will be different, and having someone with experience to oversee your build will definitely be worth any cost or extra time. the images and schematics below don't show the iteration after iteration of plans and time consulting with our advisor, Jay. this is where we are after many hours of research and planning and what we've found will work best for us. everything below is to show our process and not meant to be a plan or guideline for your own build -- again, we are learning as we go.
system requirements
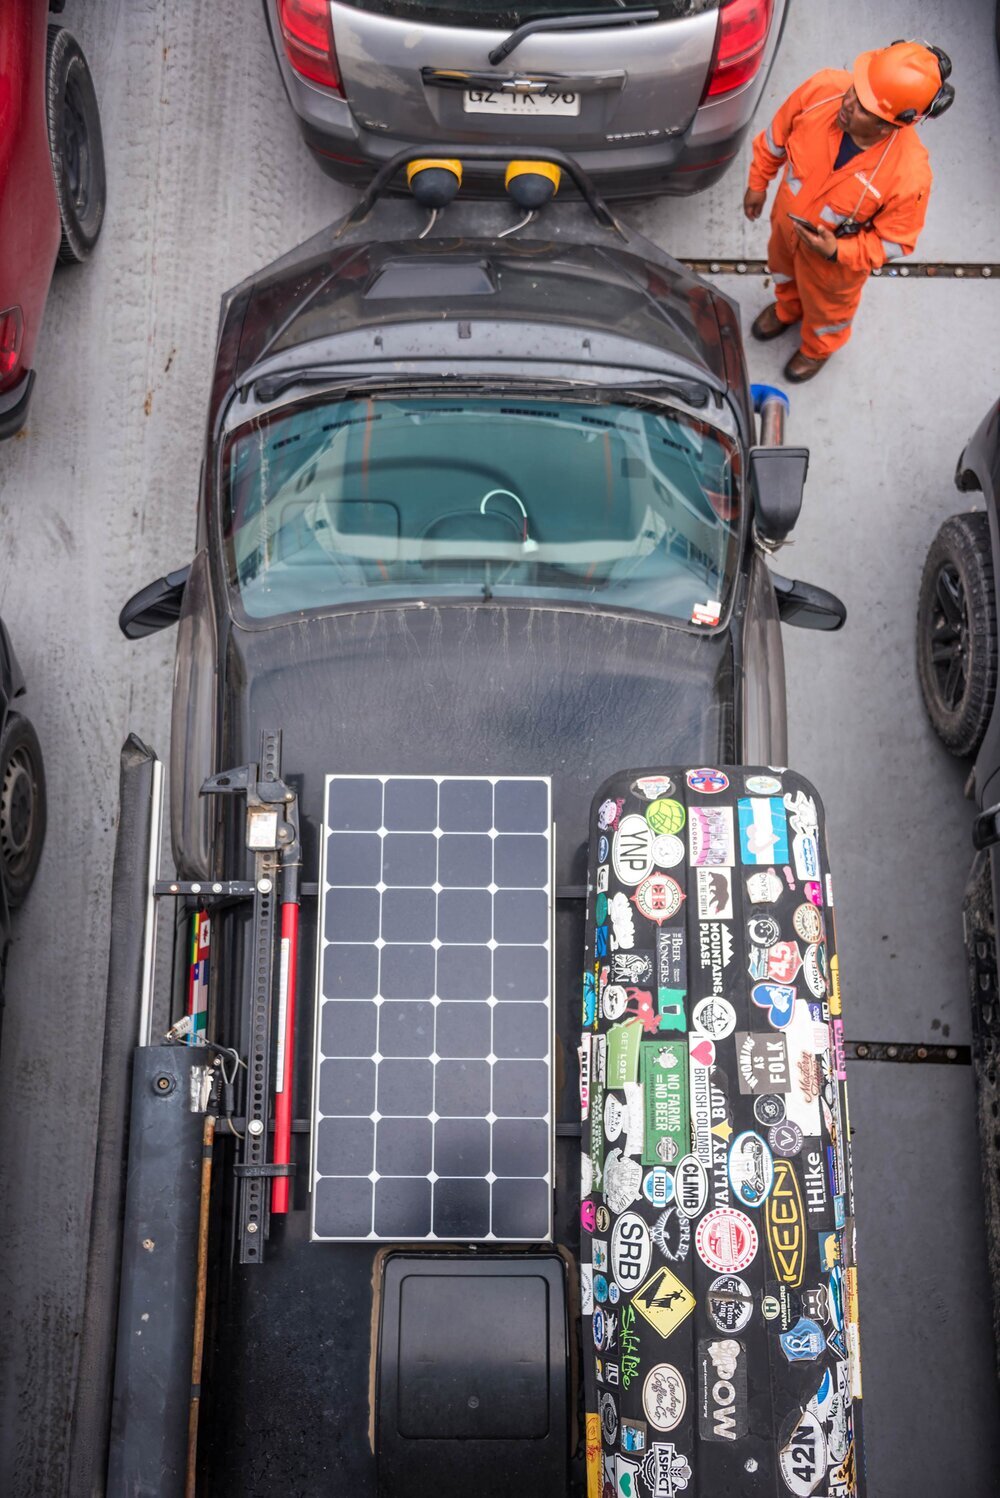
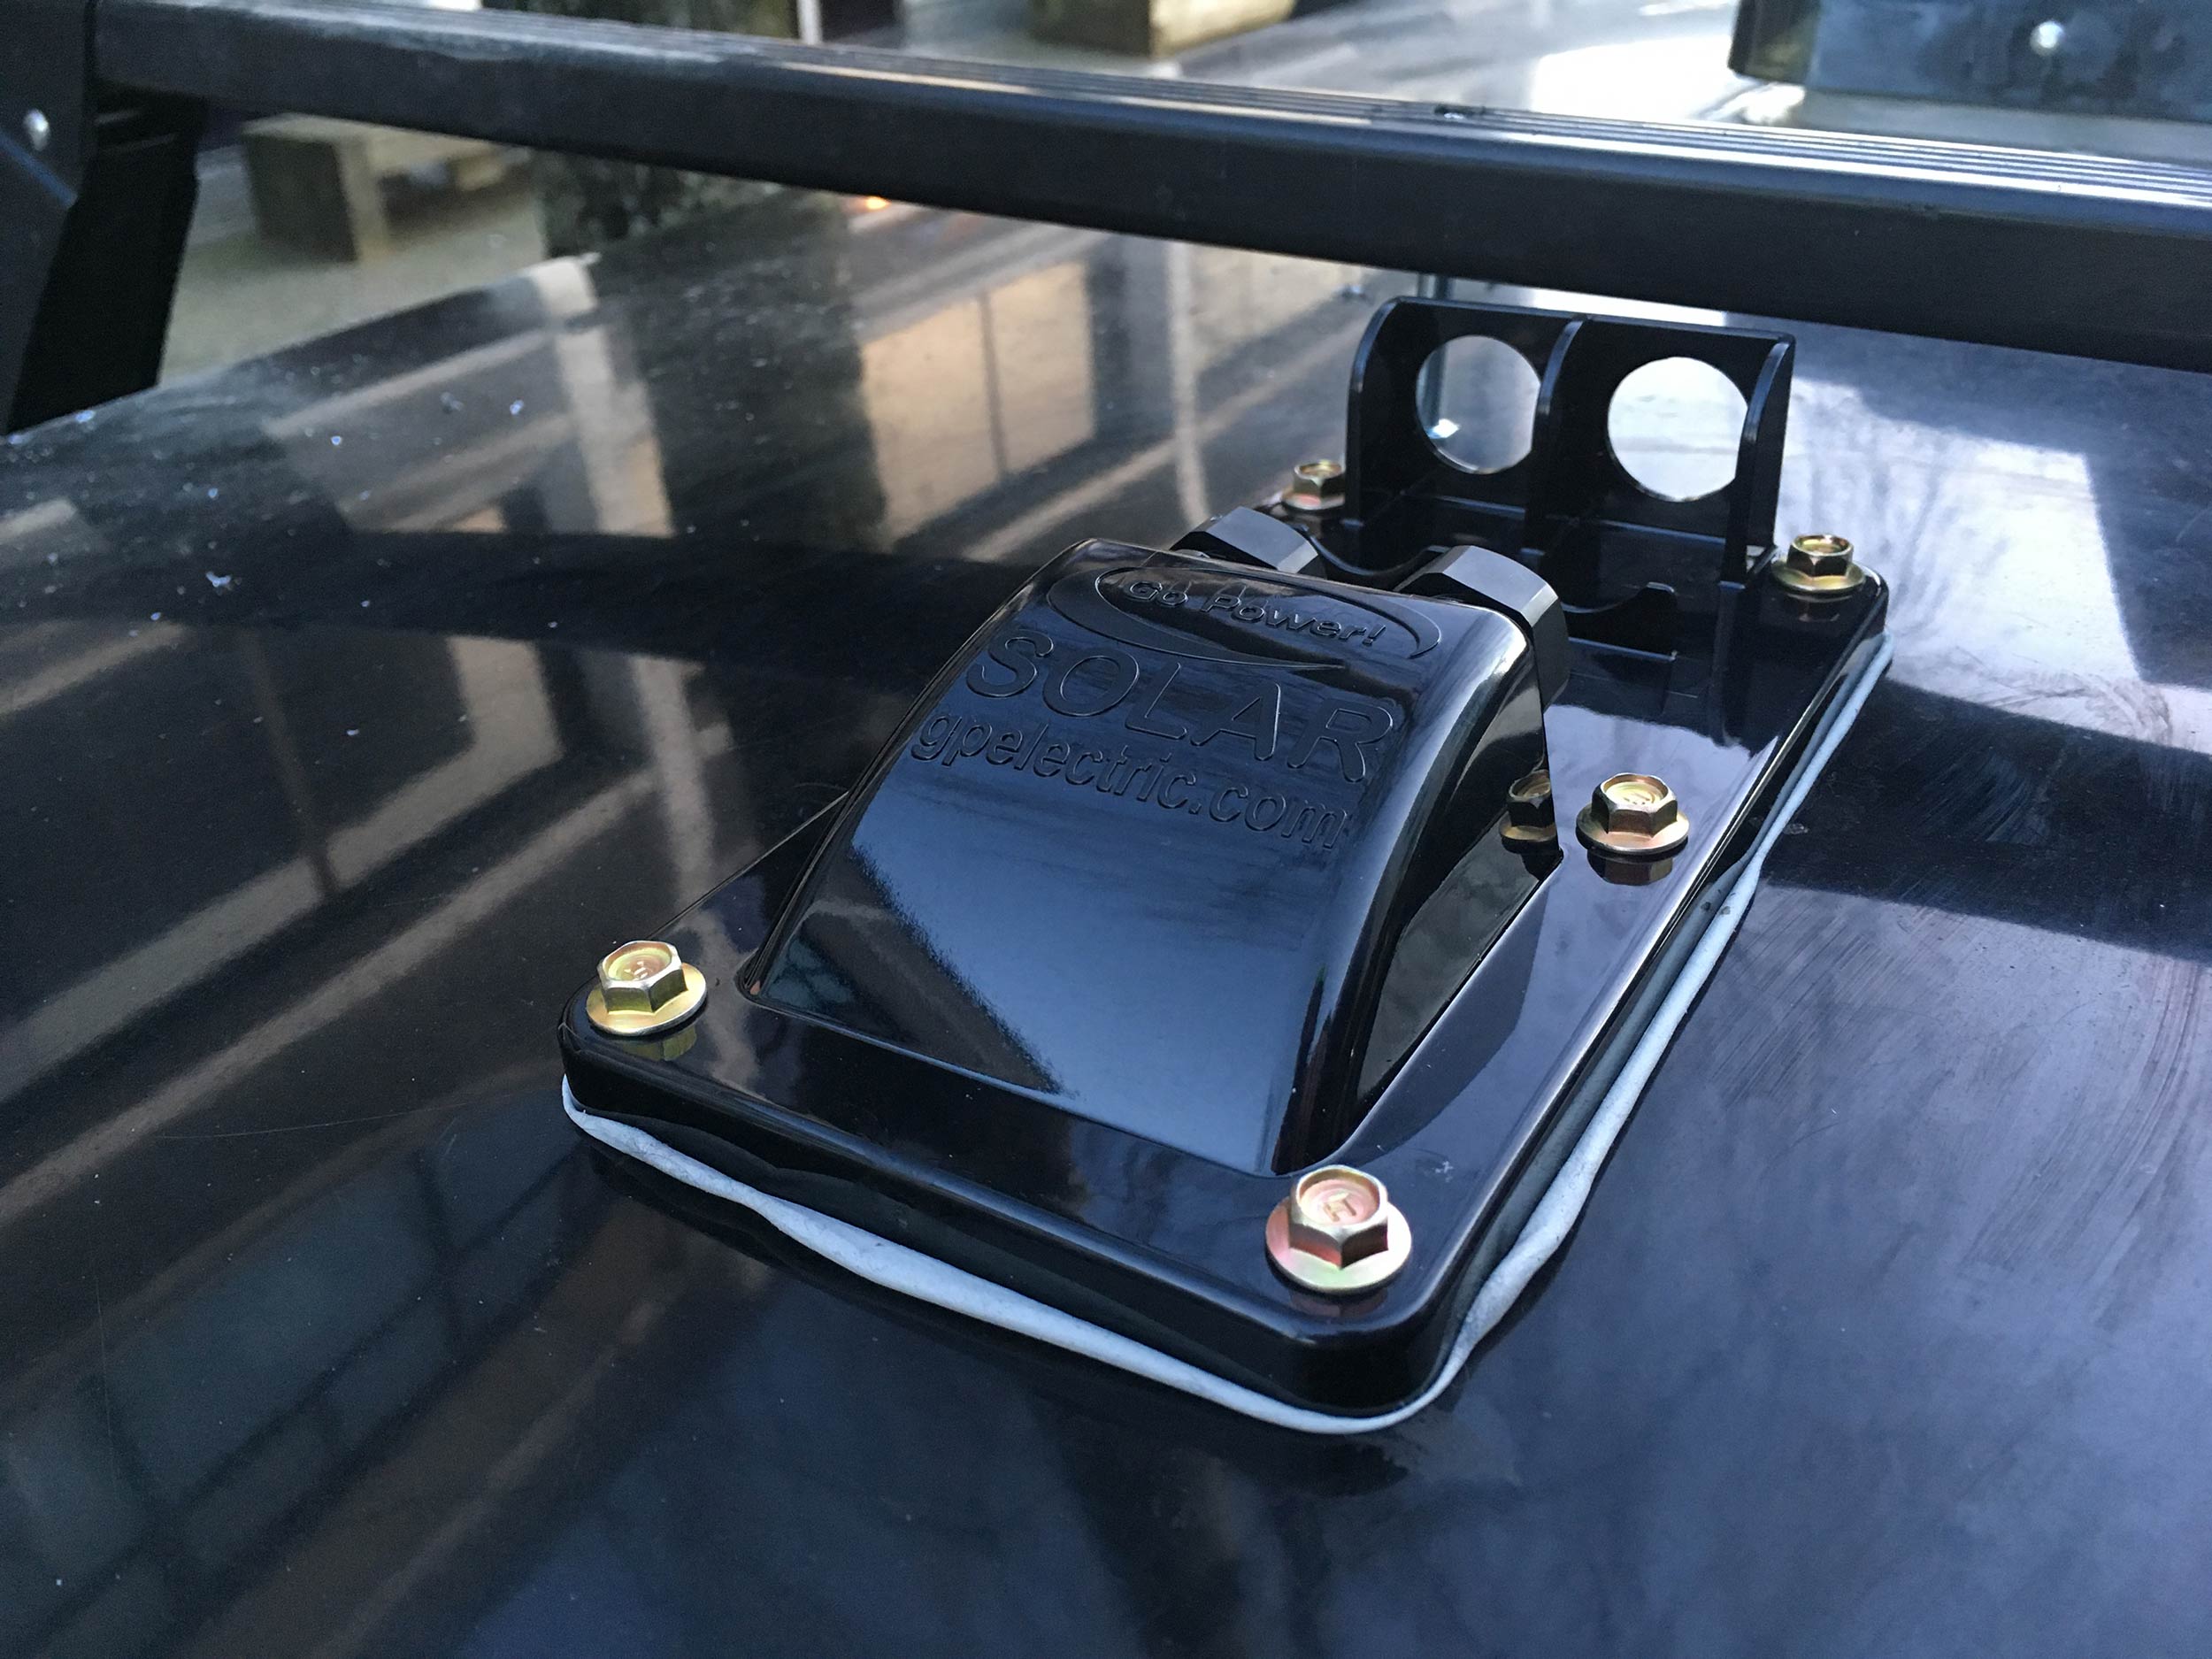
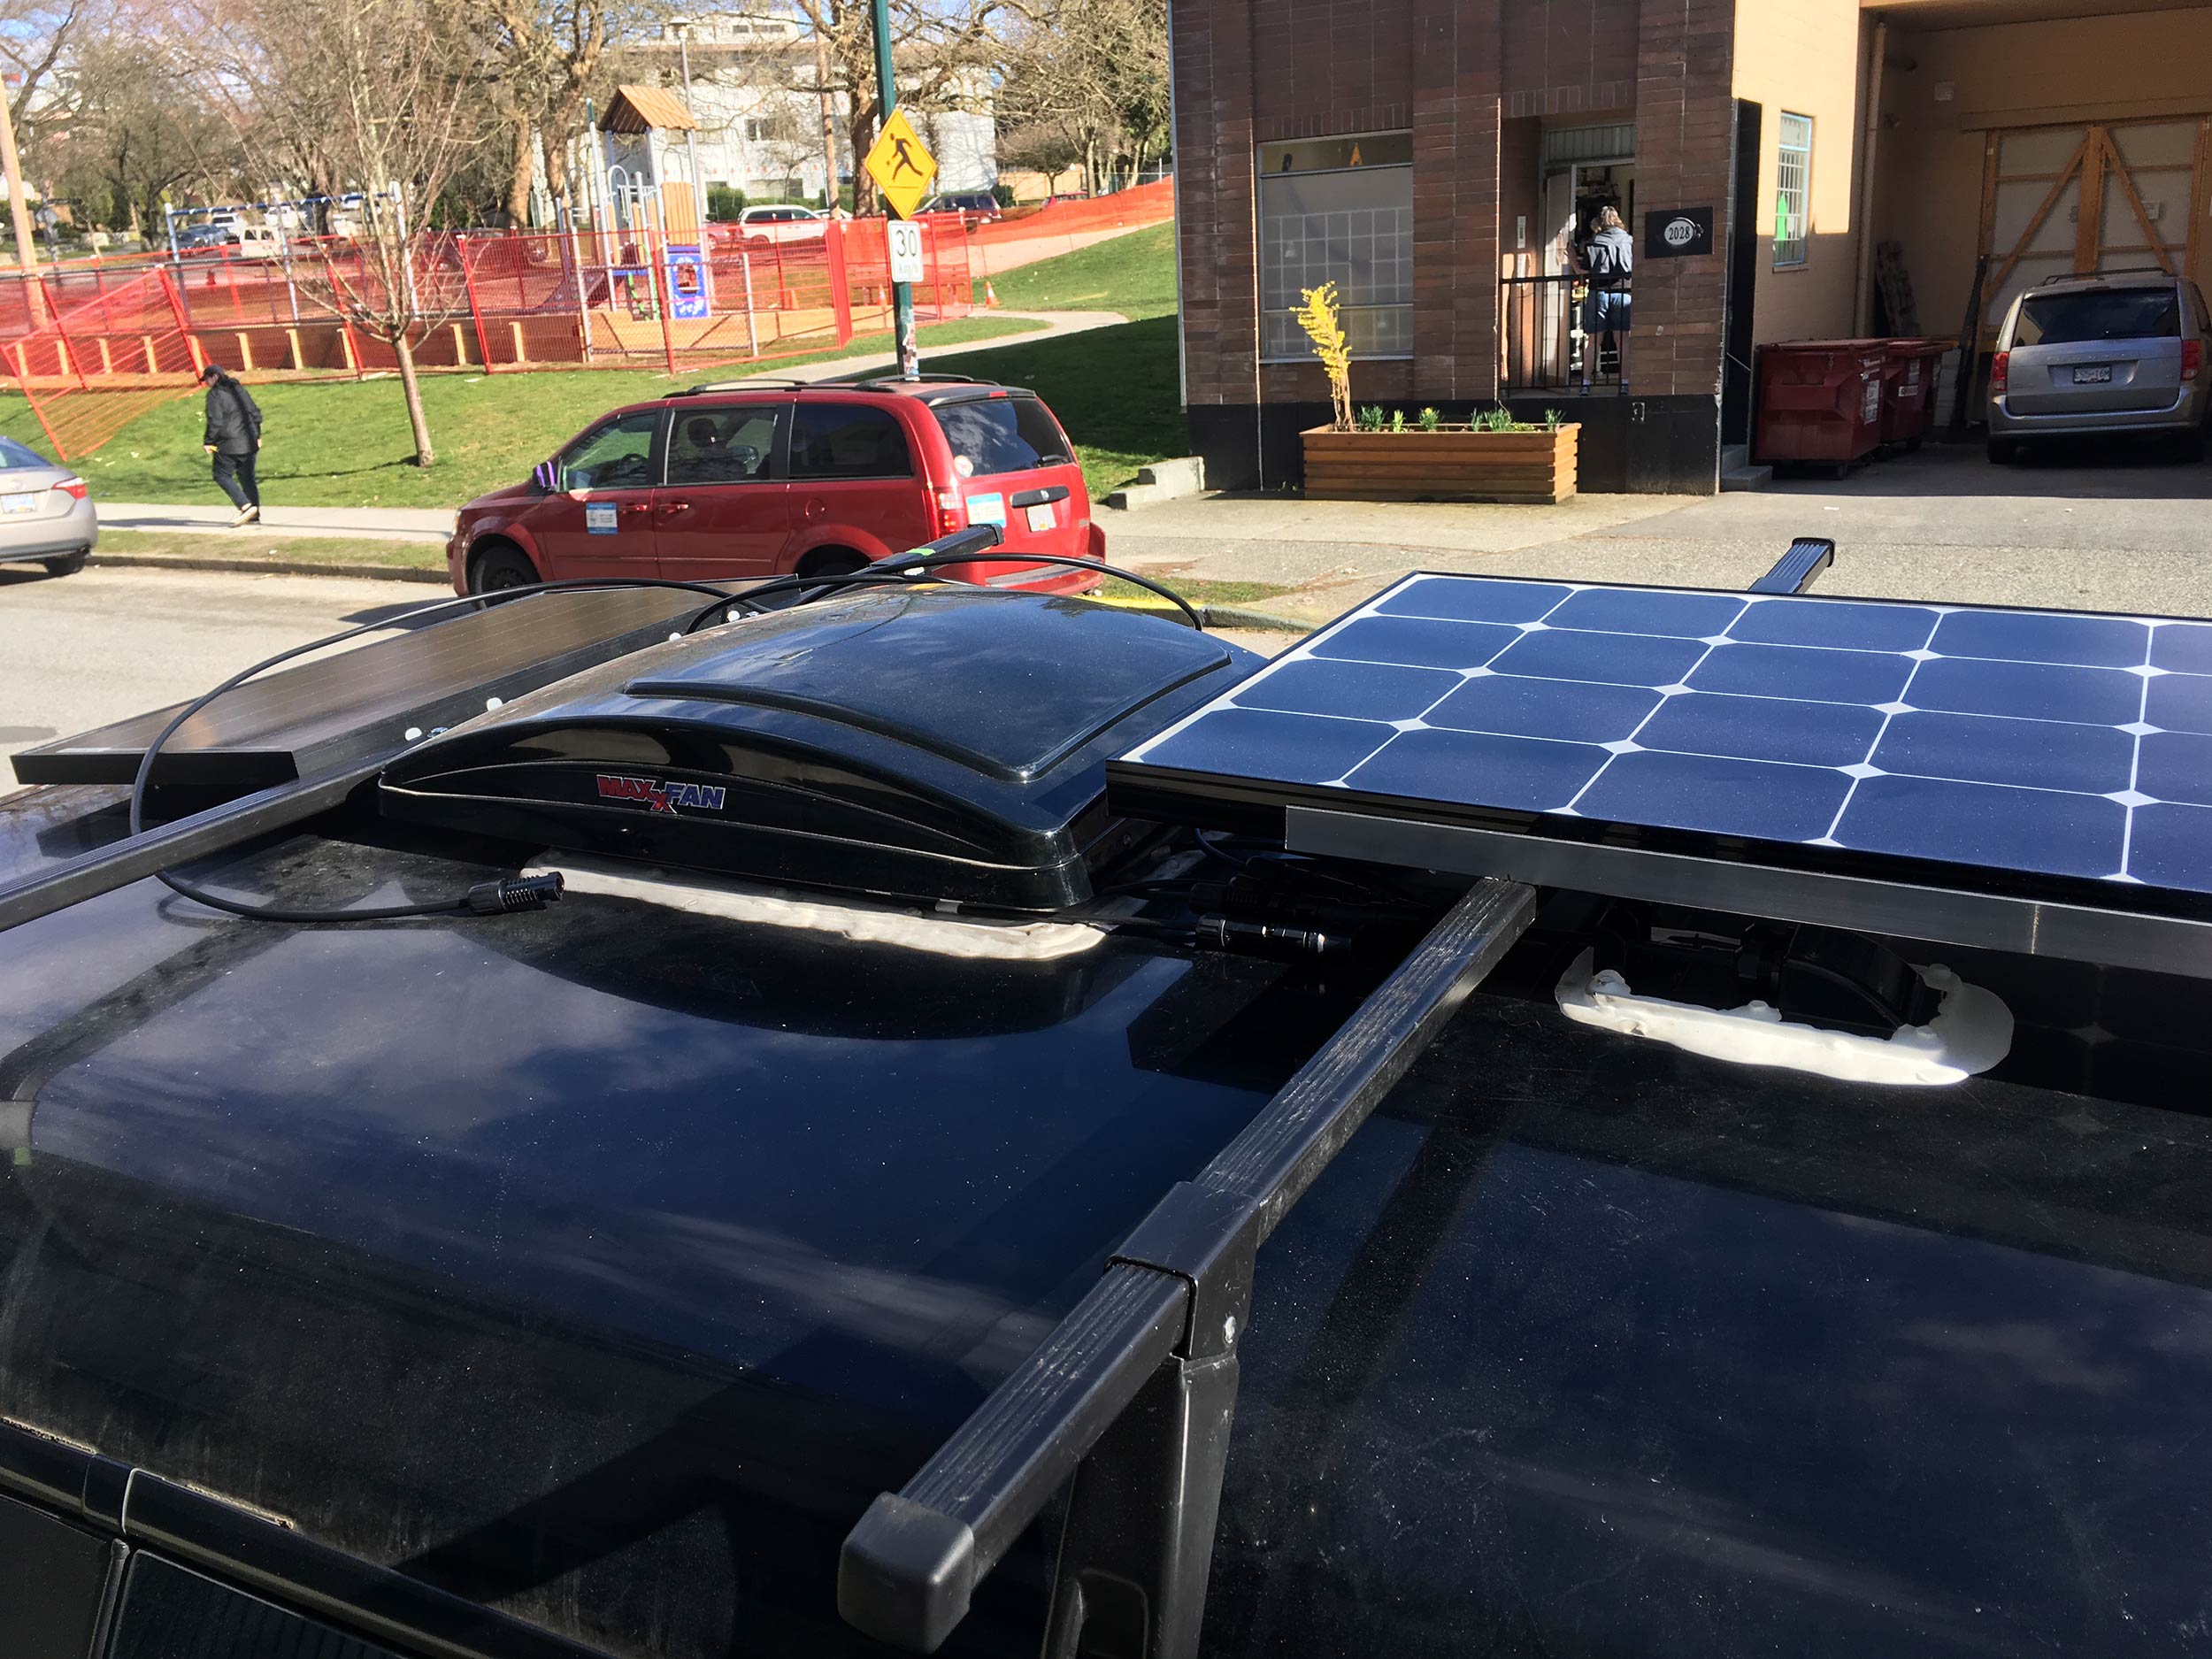
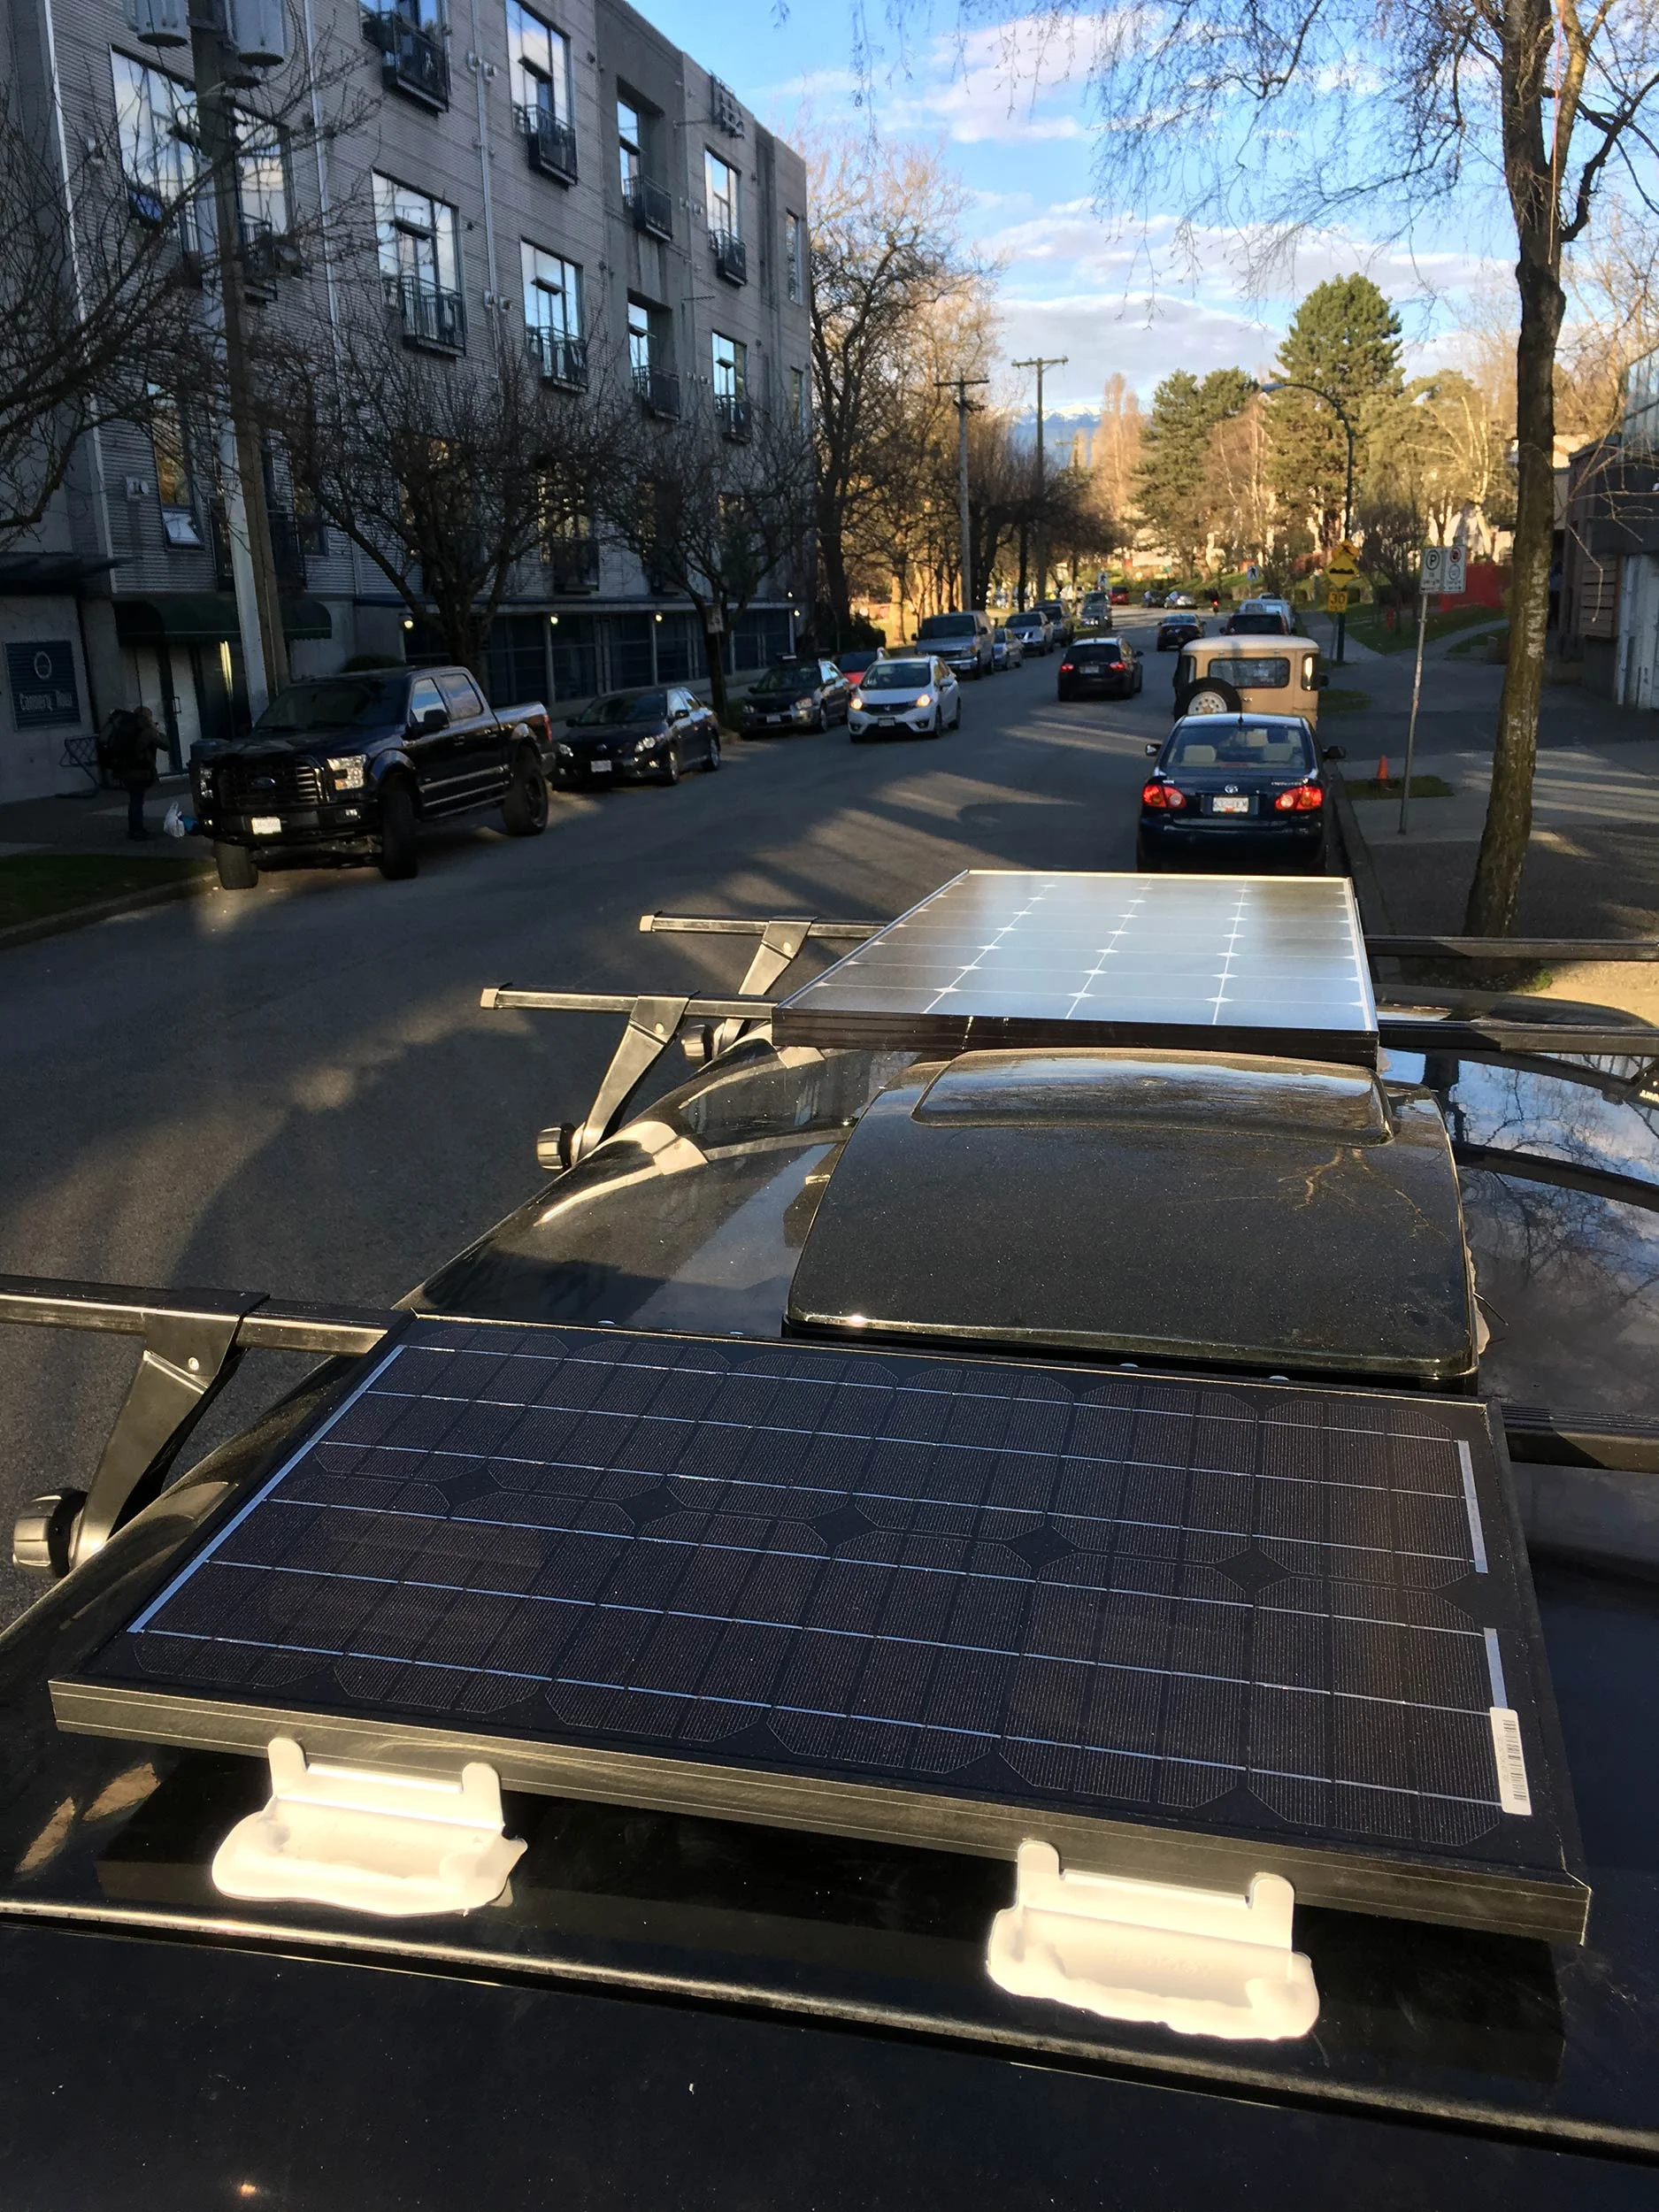
we started with making a list of the things we'd hope to have in the van. early on, we decided to keep the system mostly DC -- any inverter use would be a plug in cigarette lighter style inverter like we used on our trip in Costa Rica (mainly for the computer or camera batteries). sooner or later we may add a land power hookup through a charger, but to begin, we decided we would like as much solar as we could get on the roof and hopefully not have to rely on the alternator and starter battery to do too much of the charging. we will see how this goes once we're on the road, but due to the limited roof space on the delica, we could only fit 130Watts of solar panels (and that was utilizing the renogy eclip$e panel that's a bit smaller than your normal 100Watt) -- so opted to add a battery to battery charger to the system that should help out while we drive.
this was our general calculation, and should give you a little insight into how you should plan to size your system. there are many websites you can find with a quick google search (go power solar calculator) to help you figure out your loads and how much power you may need based on the time you want to remain off grid.
our main loads are:
1 dometic cfx35 fridge // running 24hrs a day // consuming about 1 amp per hour = 24AH/day
1 maxx air roof fan // running 3 or 4 hrs a day // consuming about 1 amp per hour = 4AH/day
4 LED ceiling lights // running 2 hours a day // consuming 1 amp per hour per light = 8AH/day
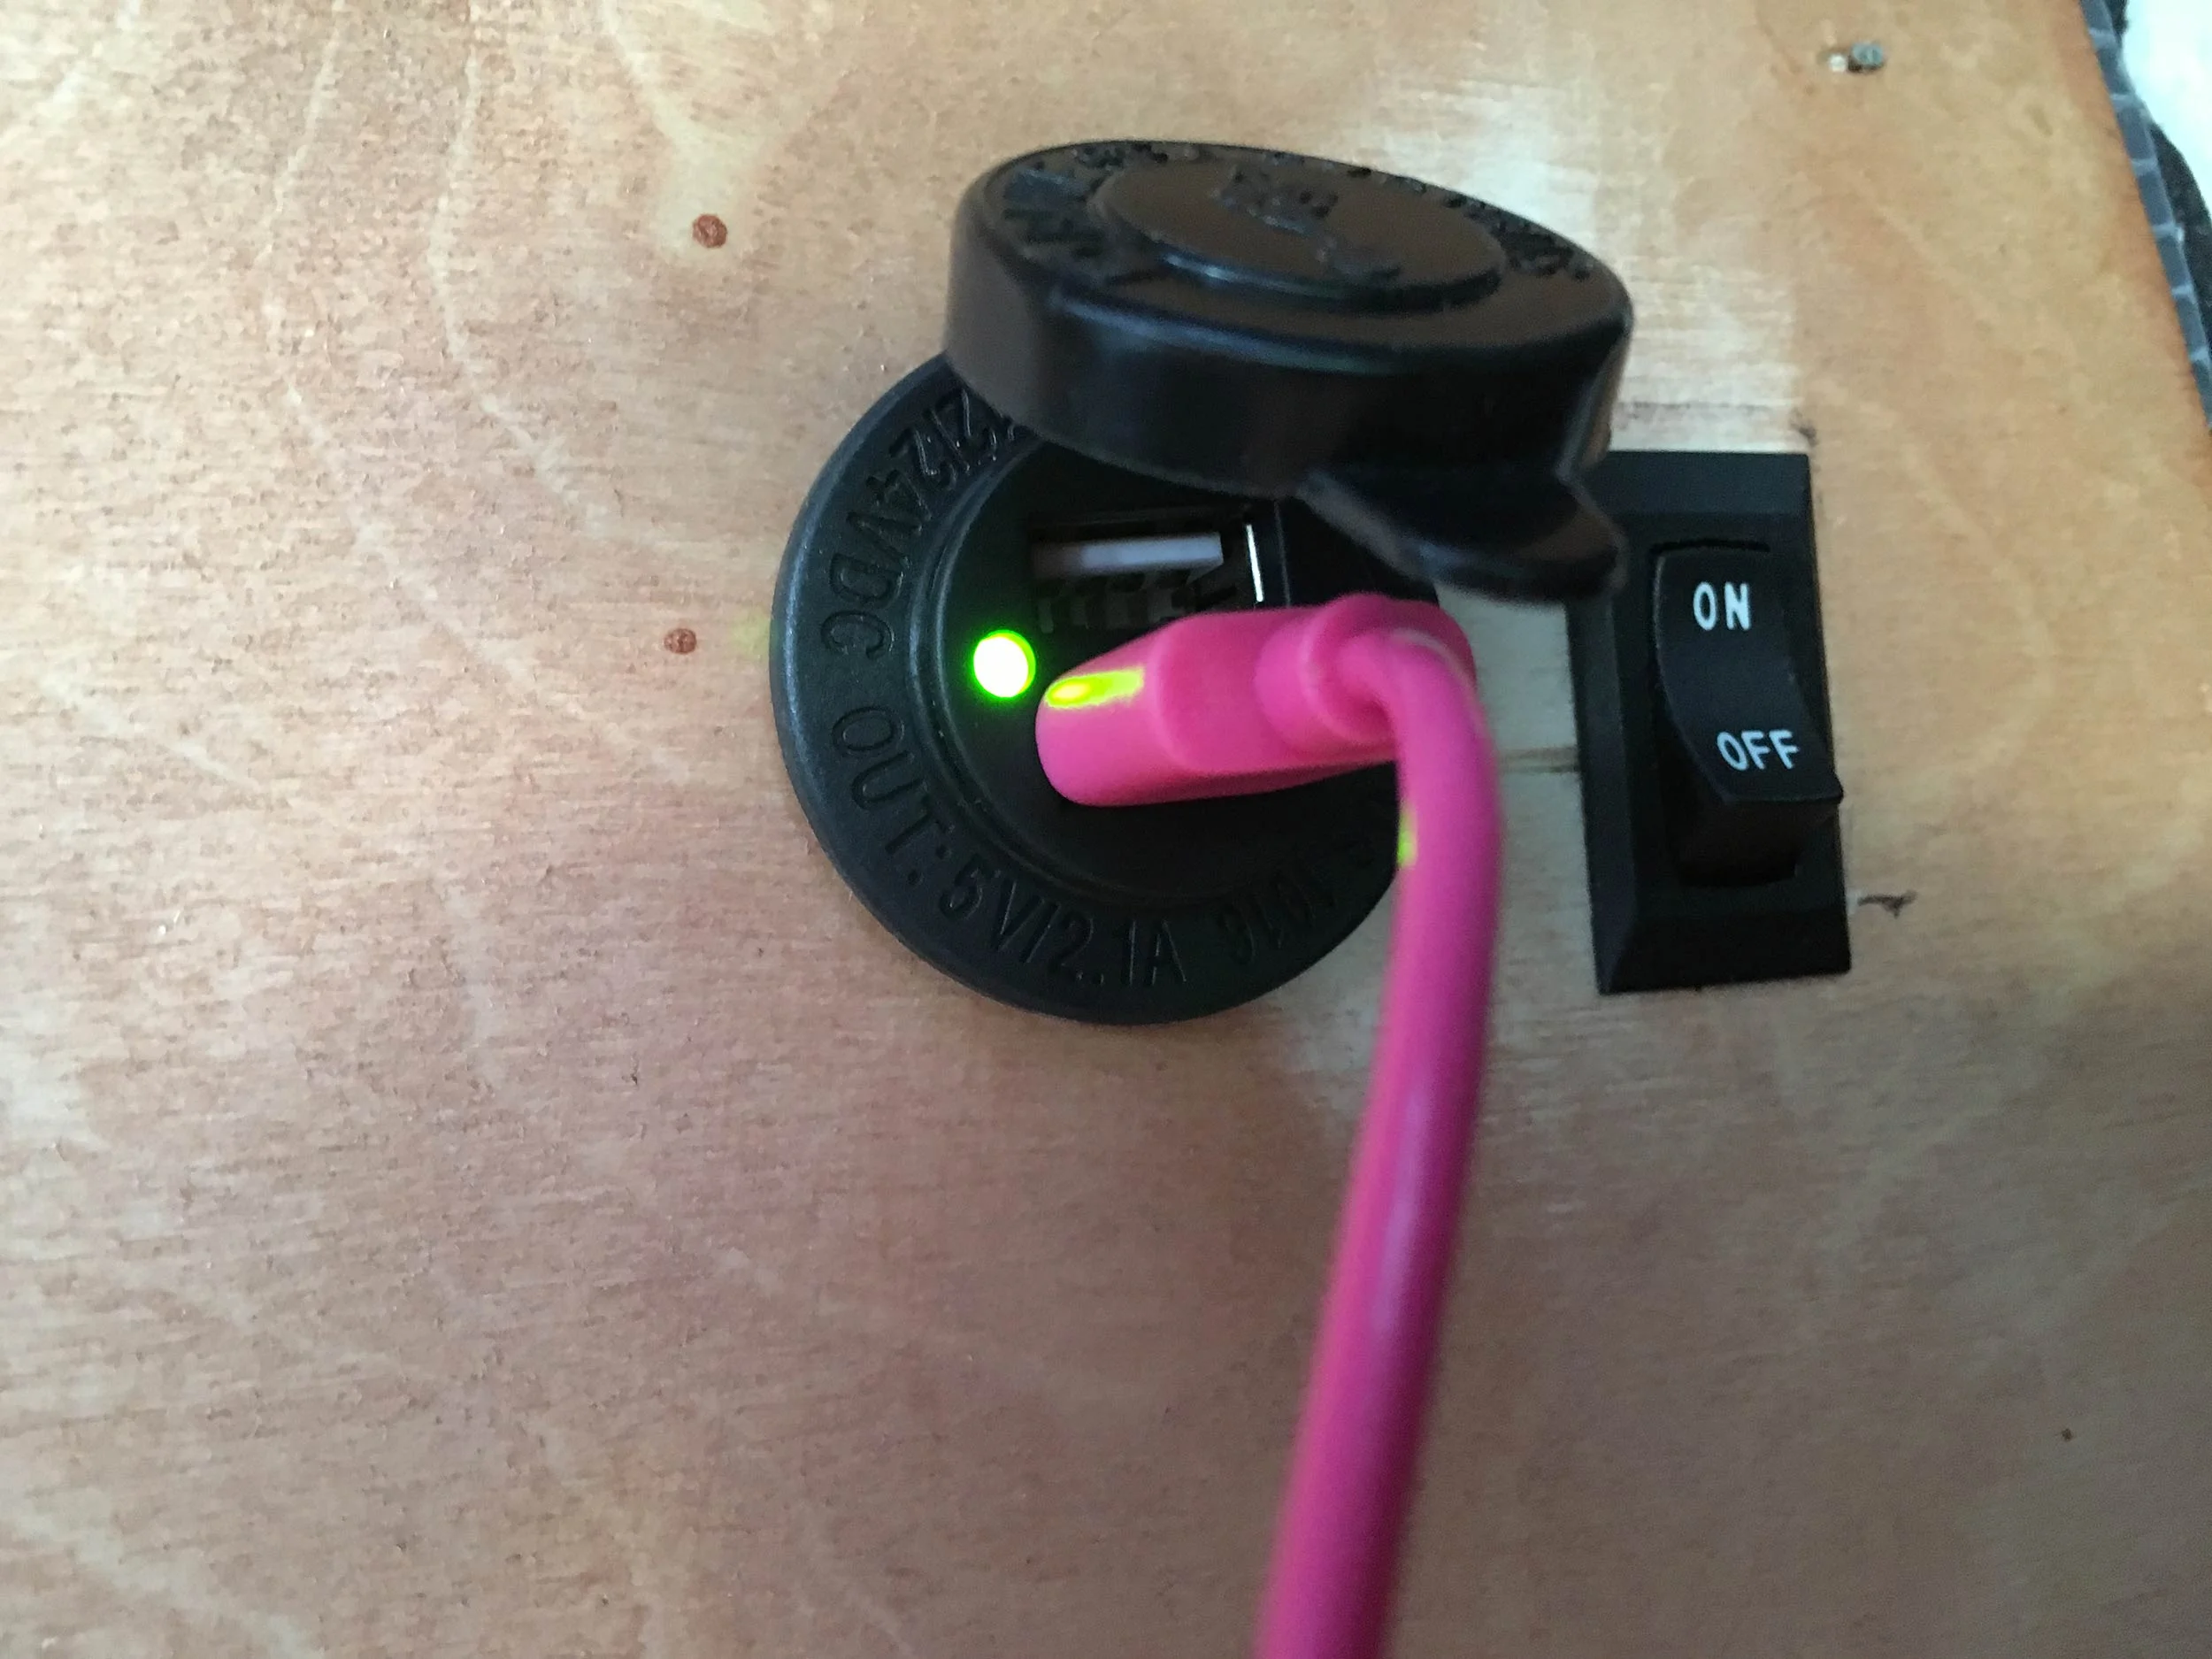
2 USBs to charge phones/personal electronics daily // 2 hours a day // consuming 2 amps per hour = 4AH/day
a hint on figuring out how many amp hours a device will use -- an easy calculation is look at the appliance/device, see how many watts it uses, divide that by the volts you are running in your system -- typically 12v for your DC campervan system -- and you get your amp hours (or how many amps used per hour).
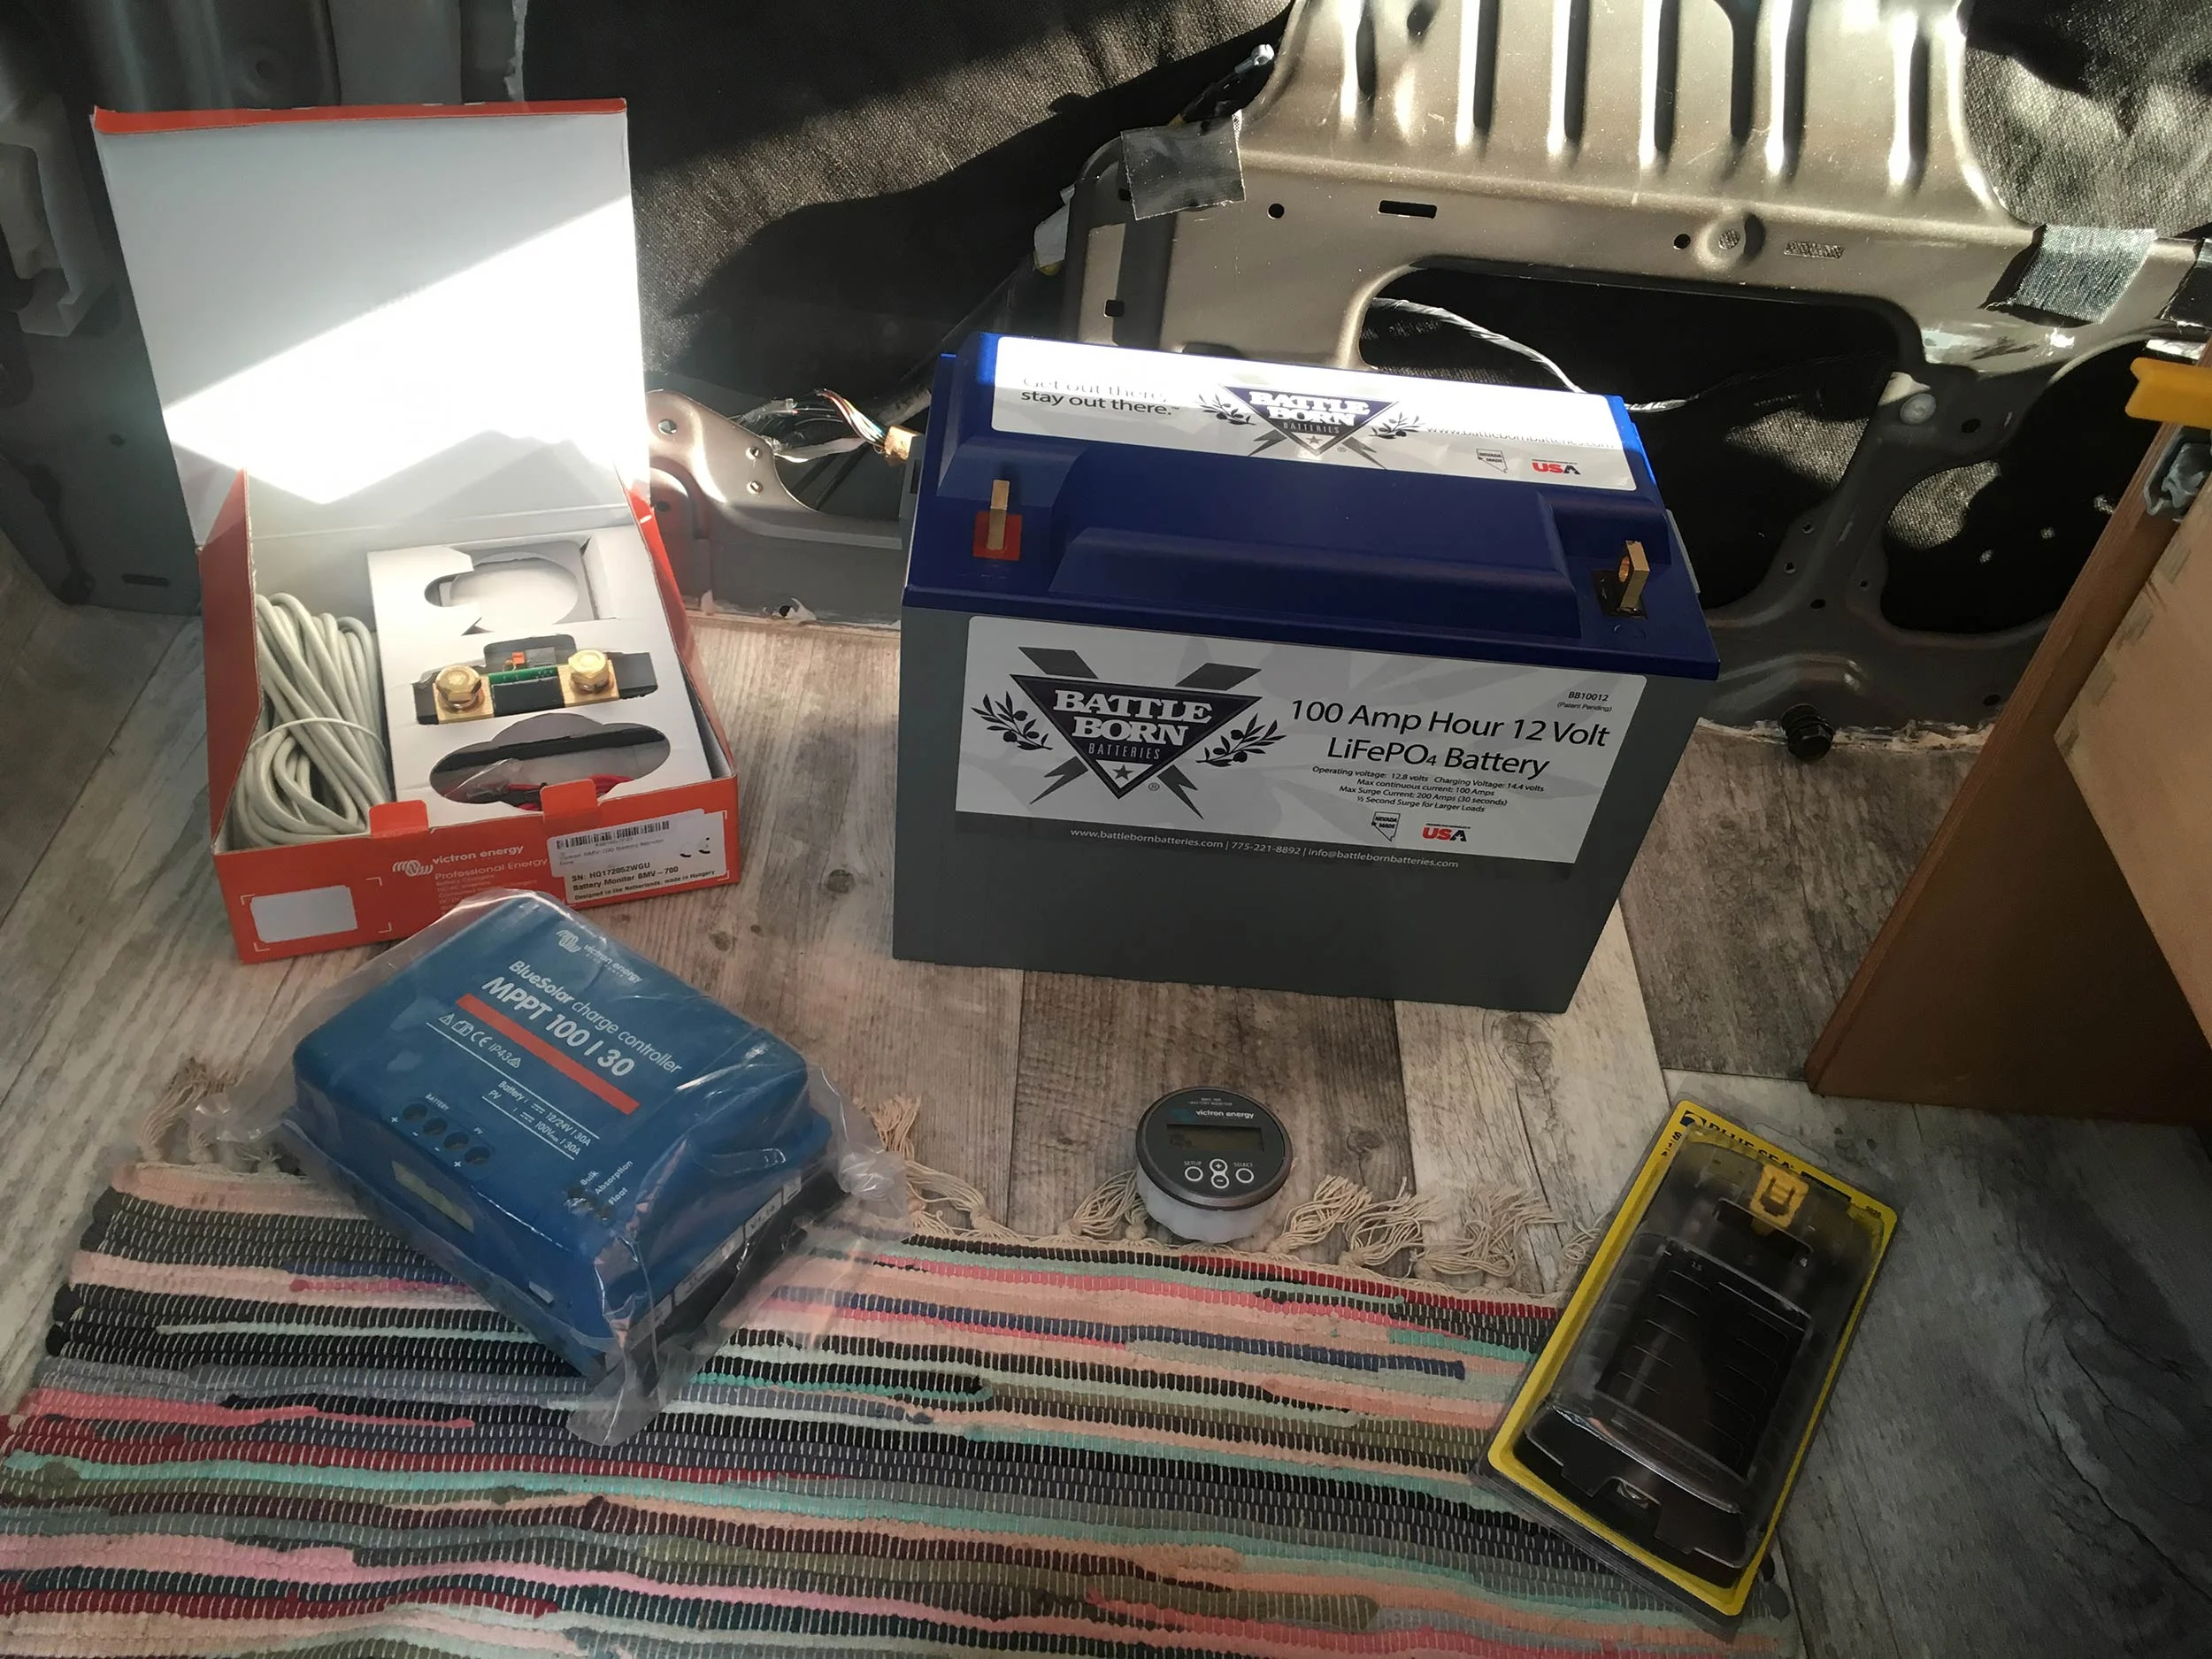
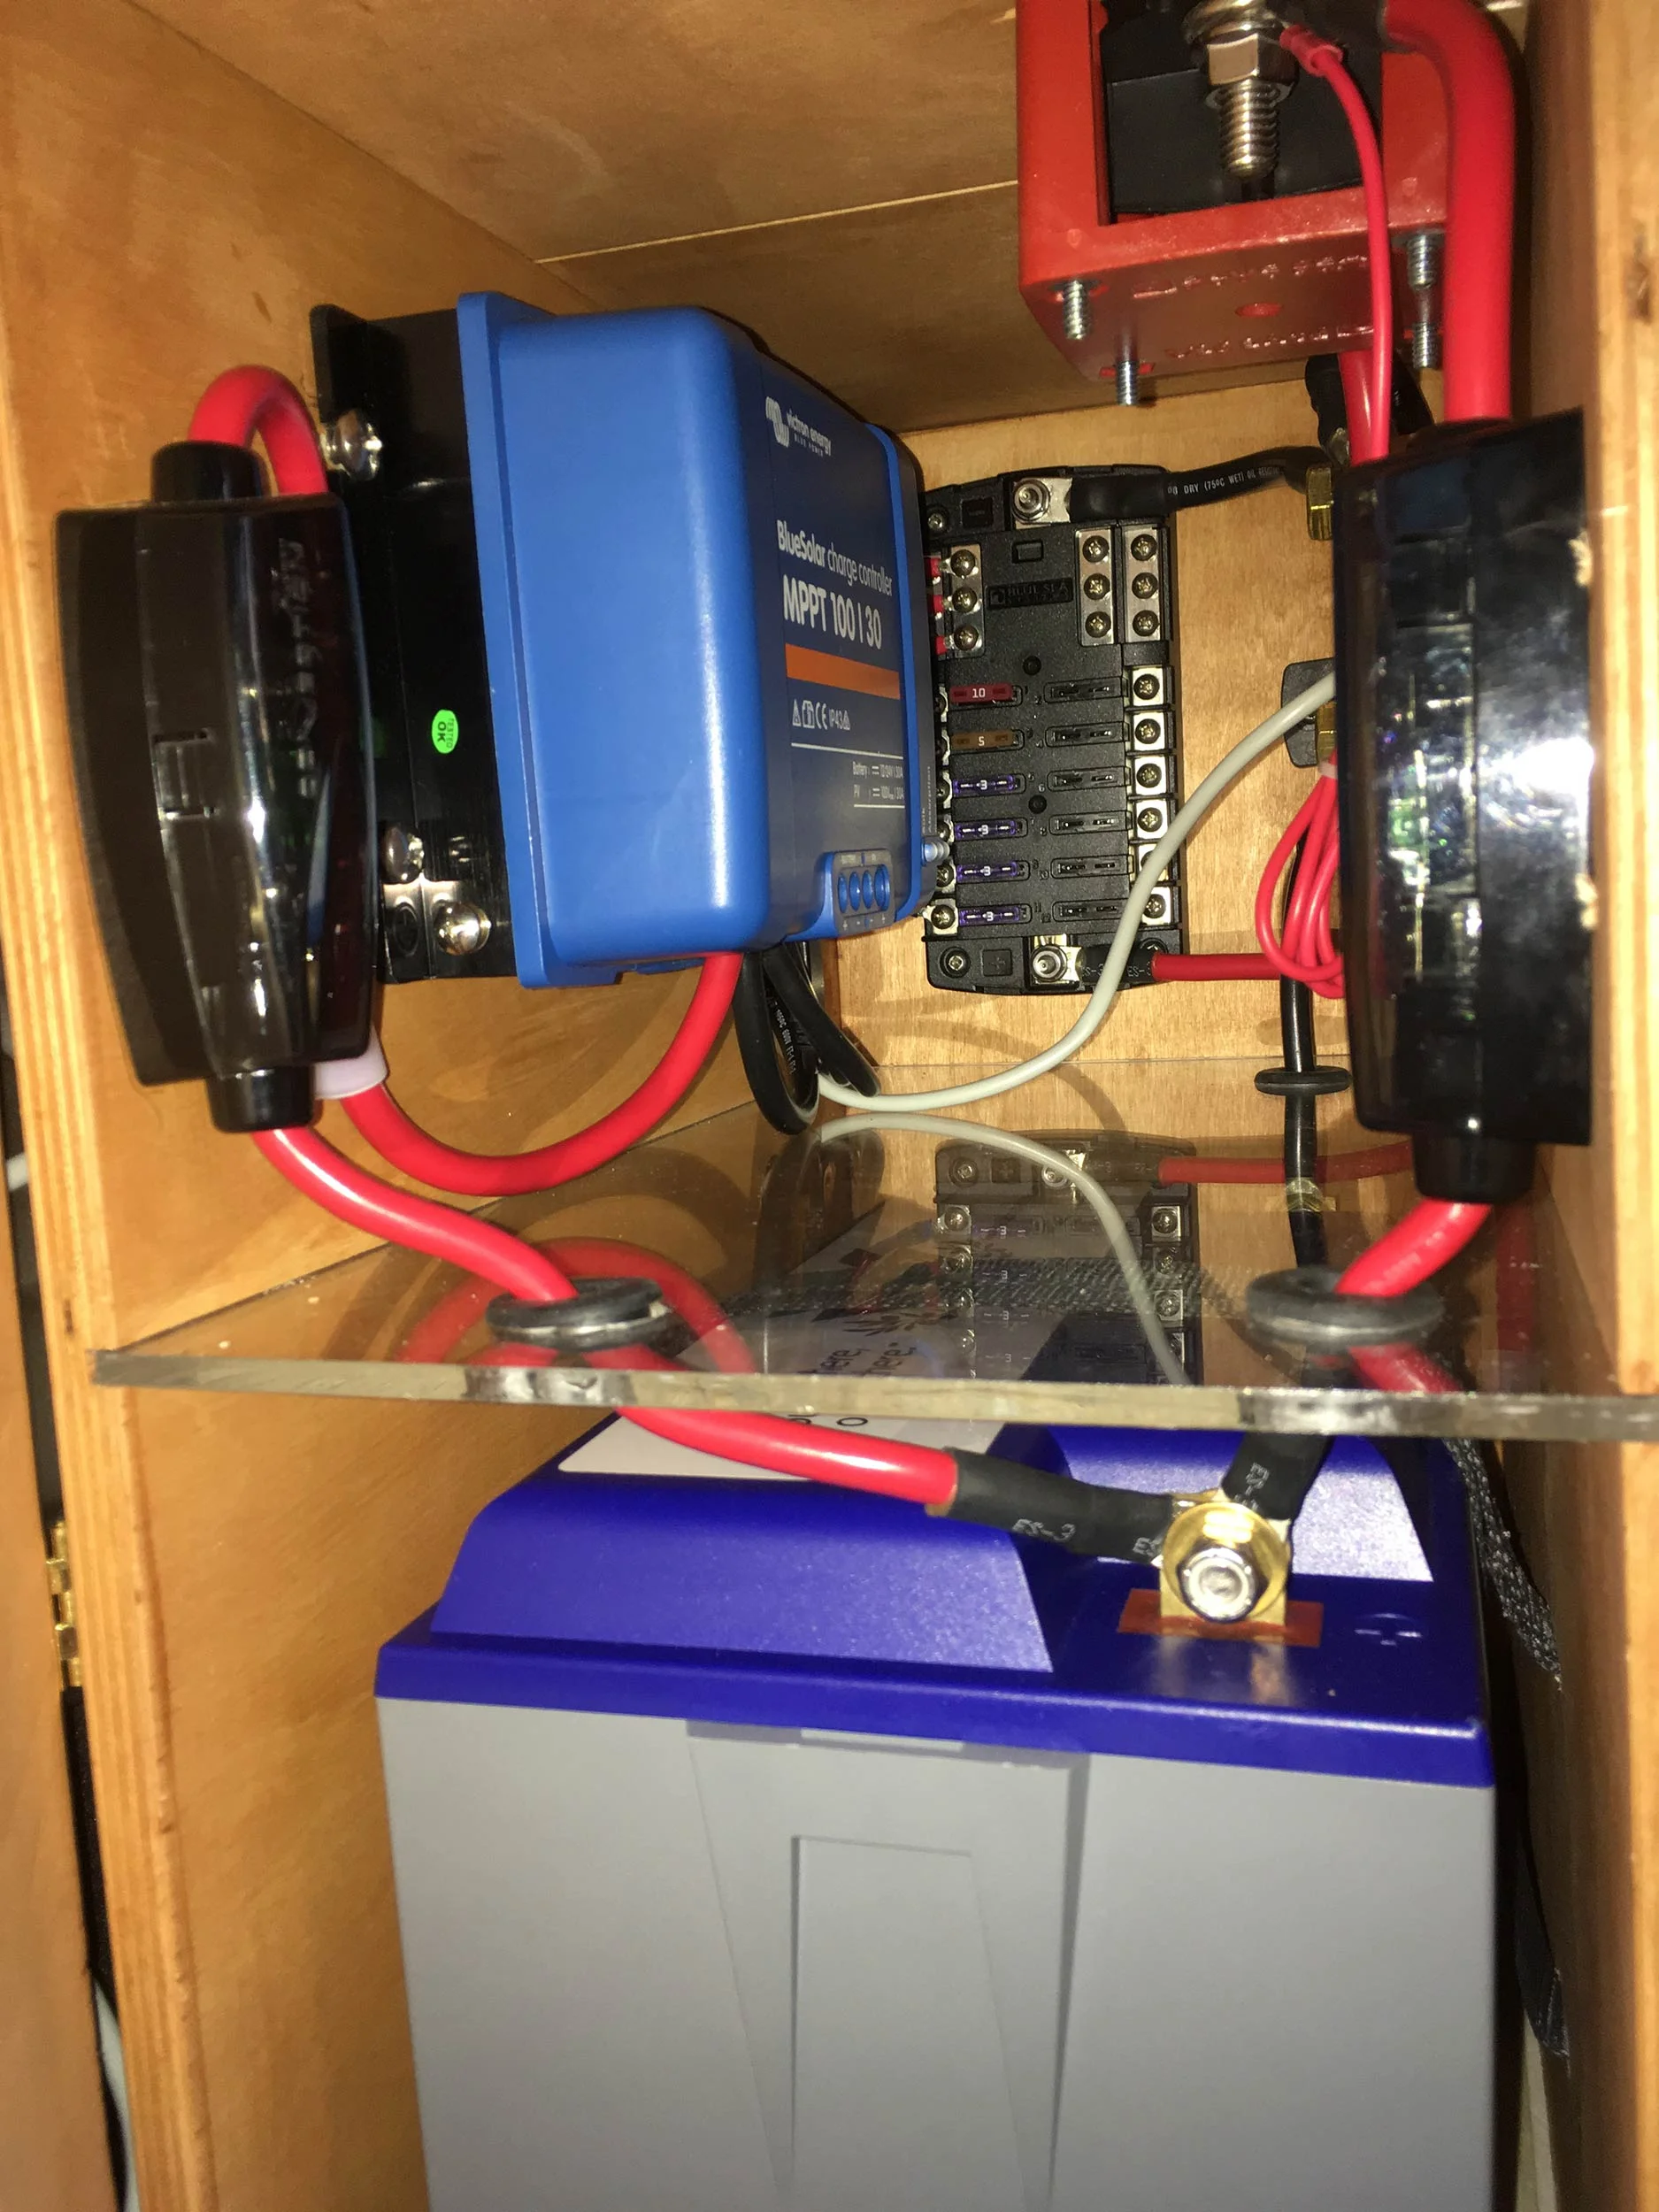
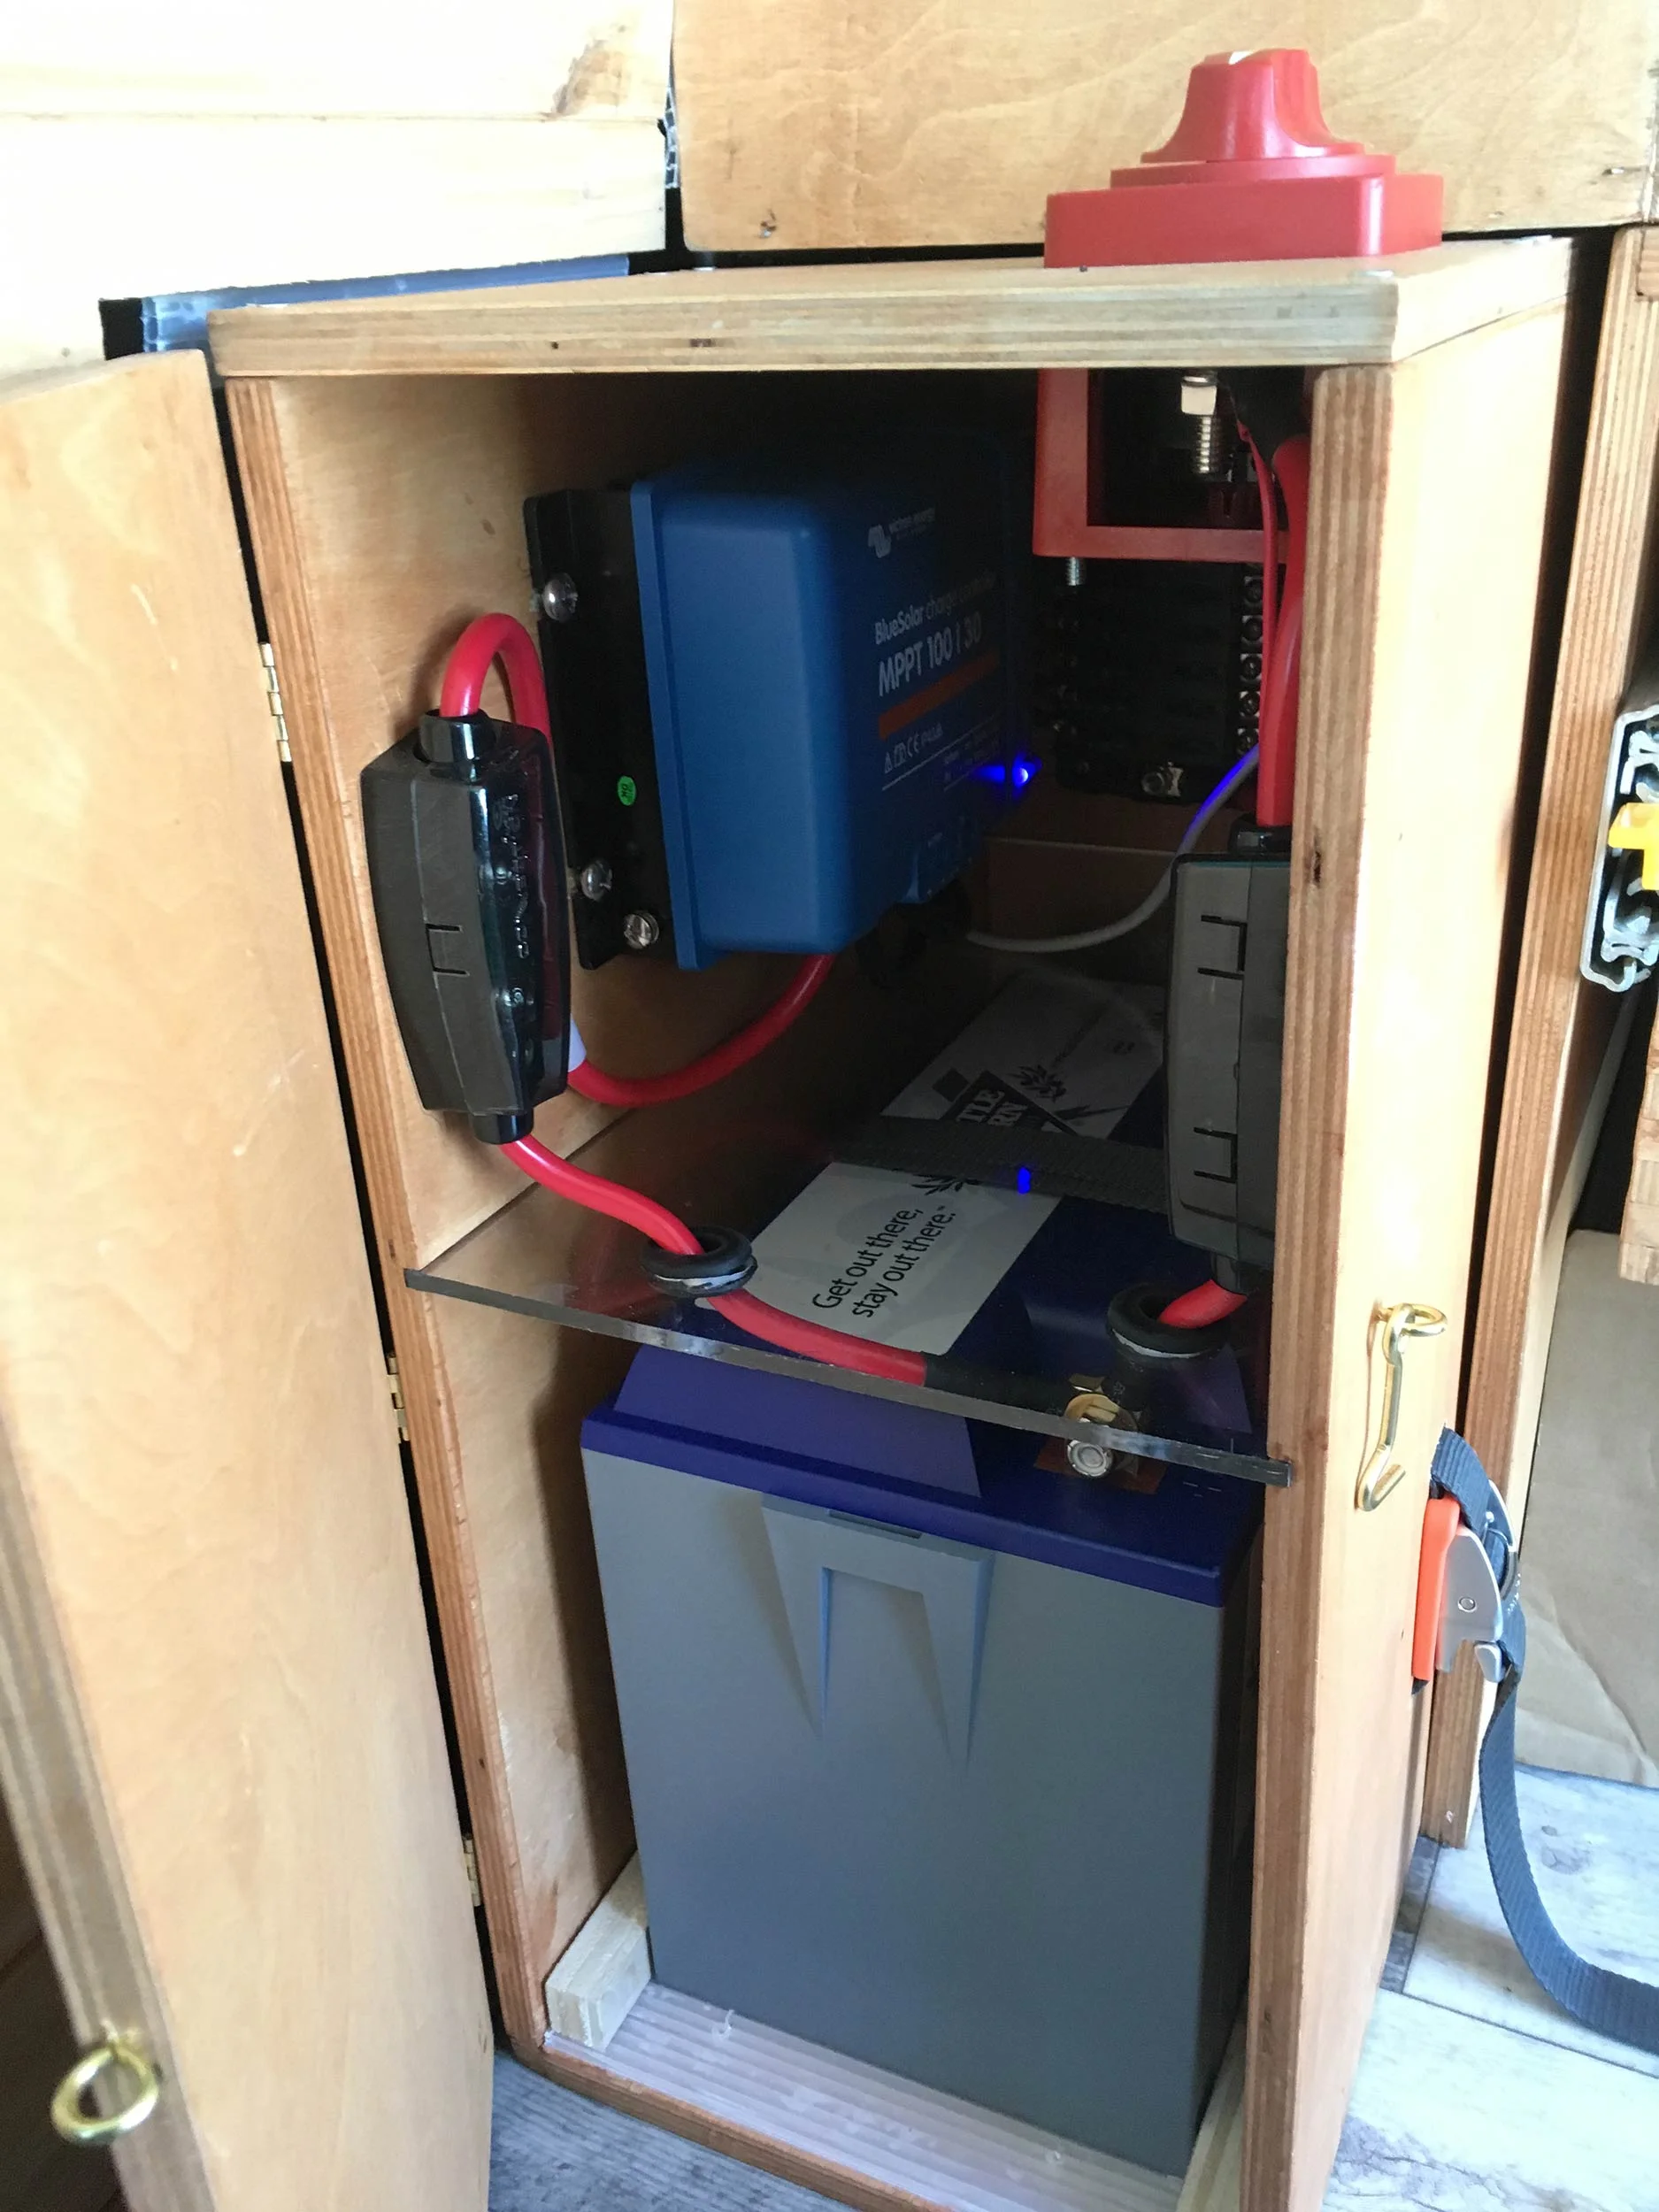
with this information, we decided we'd want a 100AH battery, giving us the ability to stay off grid for 2 or 3 days with conservative power usage. we quickly learned that a 100AH AGM or traditional style Lead Acid battery only yields about half of it's capacity, less you run the risk of damaging the battery and reducing it's life. through a lot of research and weighing the positives vs negatives, we decided we wanted a Lithium battery. While cost prohibitive and generally not considered by most people doing a conversion, we really like the weight (29lbs vs 70lbs or about 120lbs for dual 6V batteries) and size savings of the Lithium, not to mention you don't have to worry about fully (or mostly) discharging the battery or always keeping it on a trickle charge to keep from damaging it. the actual chemistry isn't the same as your more-volatile smart phone, it's LiFePO4 (that's Lithium Iron Phosphate). there's quite a few companies out there making LiFePO4 batteries now, but we decided to go with Battle Born Batteries out of Reno, NV in the USA. we love their transparency, their customer service, their rad batteries and in general their desire to help people break into Lithium and figure out their systems with ease and support the whole way. (full disclosure in case you haven't looked at our 'supporters' page -- we found Battle Born through a couple forums and have worked out a deal to exchange our stories of life on the road and images and feedback on their battery in return for one of their LiFePO4 batteries. Battle Born shares the interest in the nomadic lifestyle and helping people get out there and stay out there, off the grid and exploring without bounds.)
enough talk, how about a diagram:
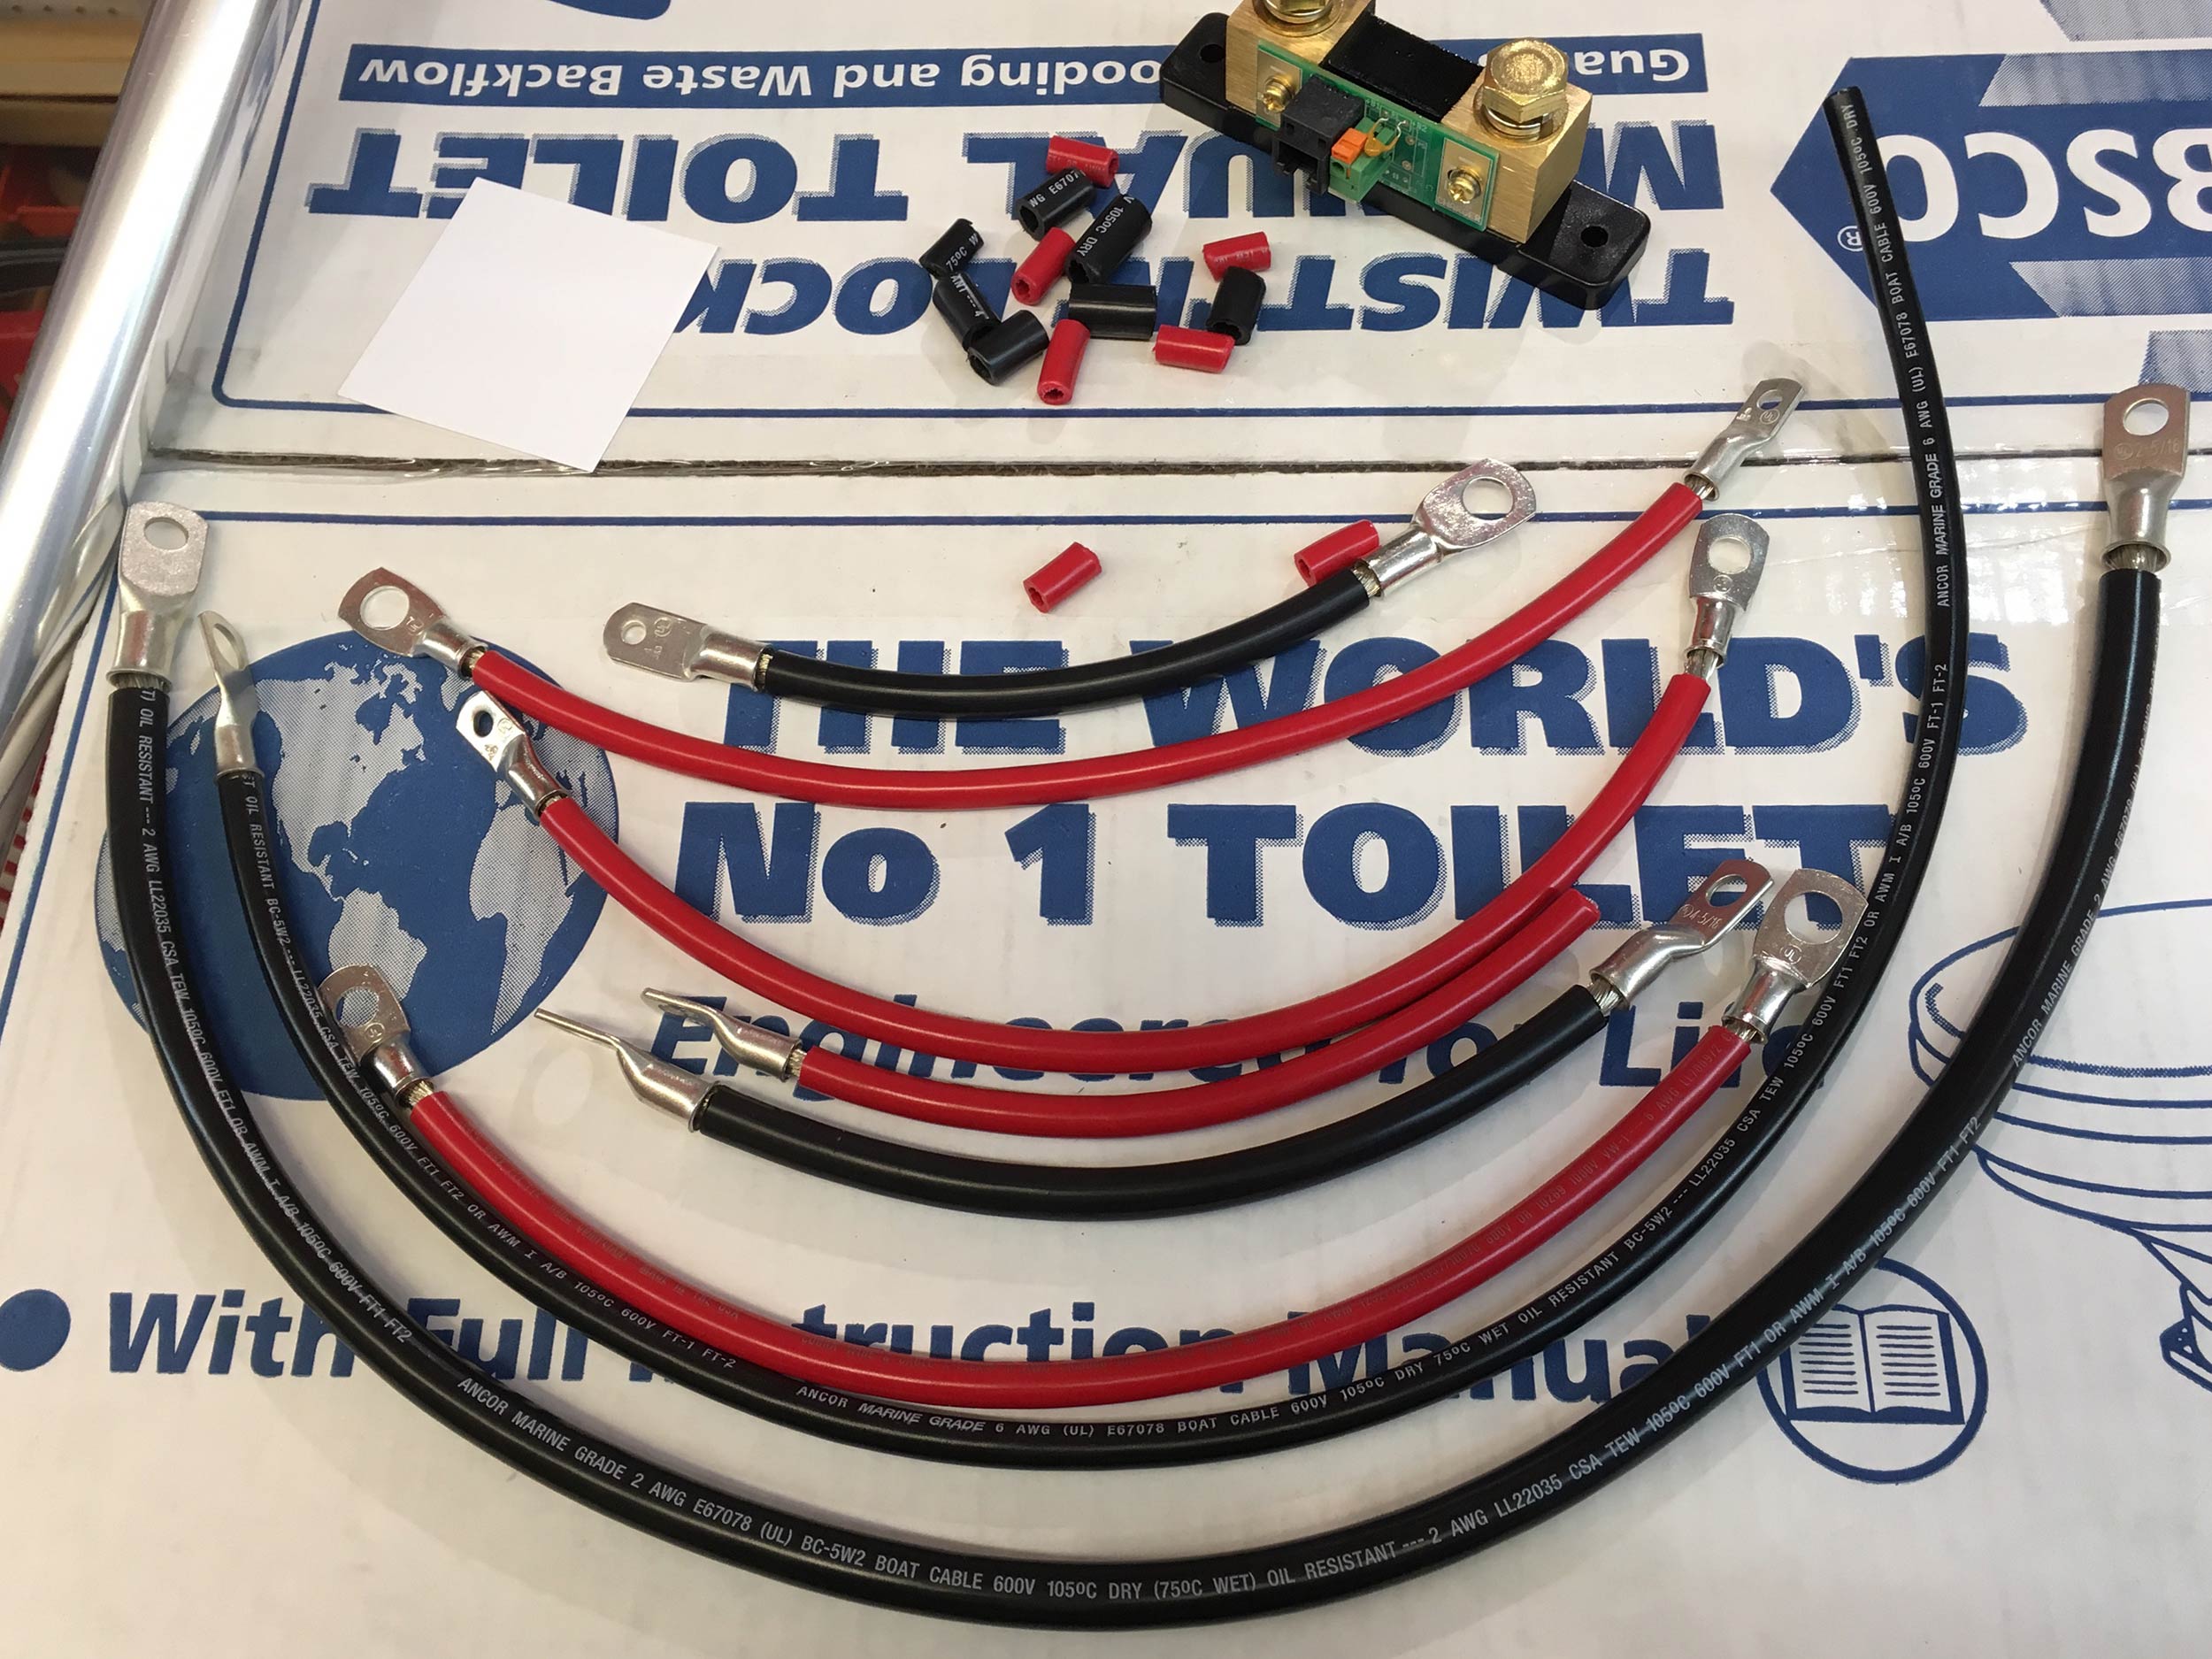
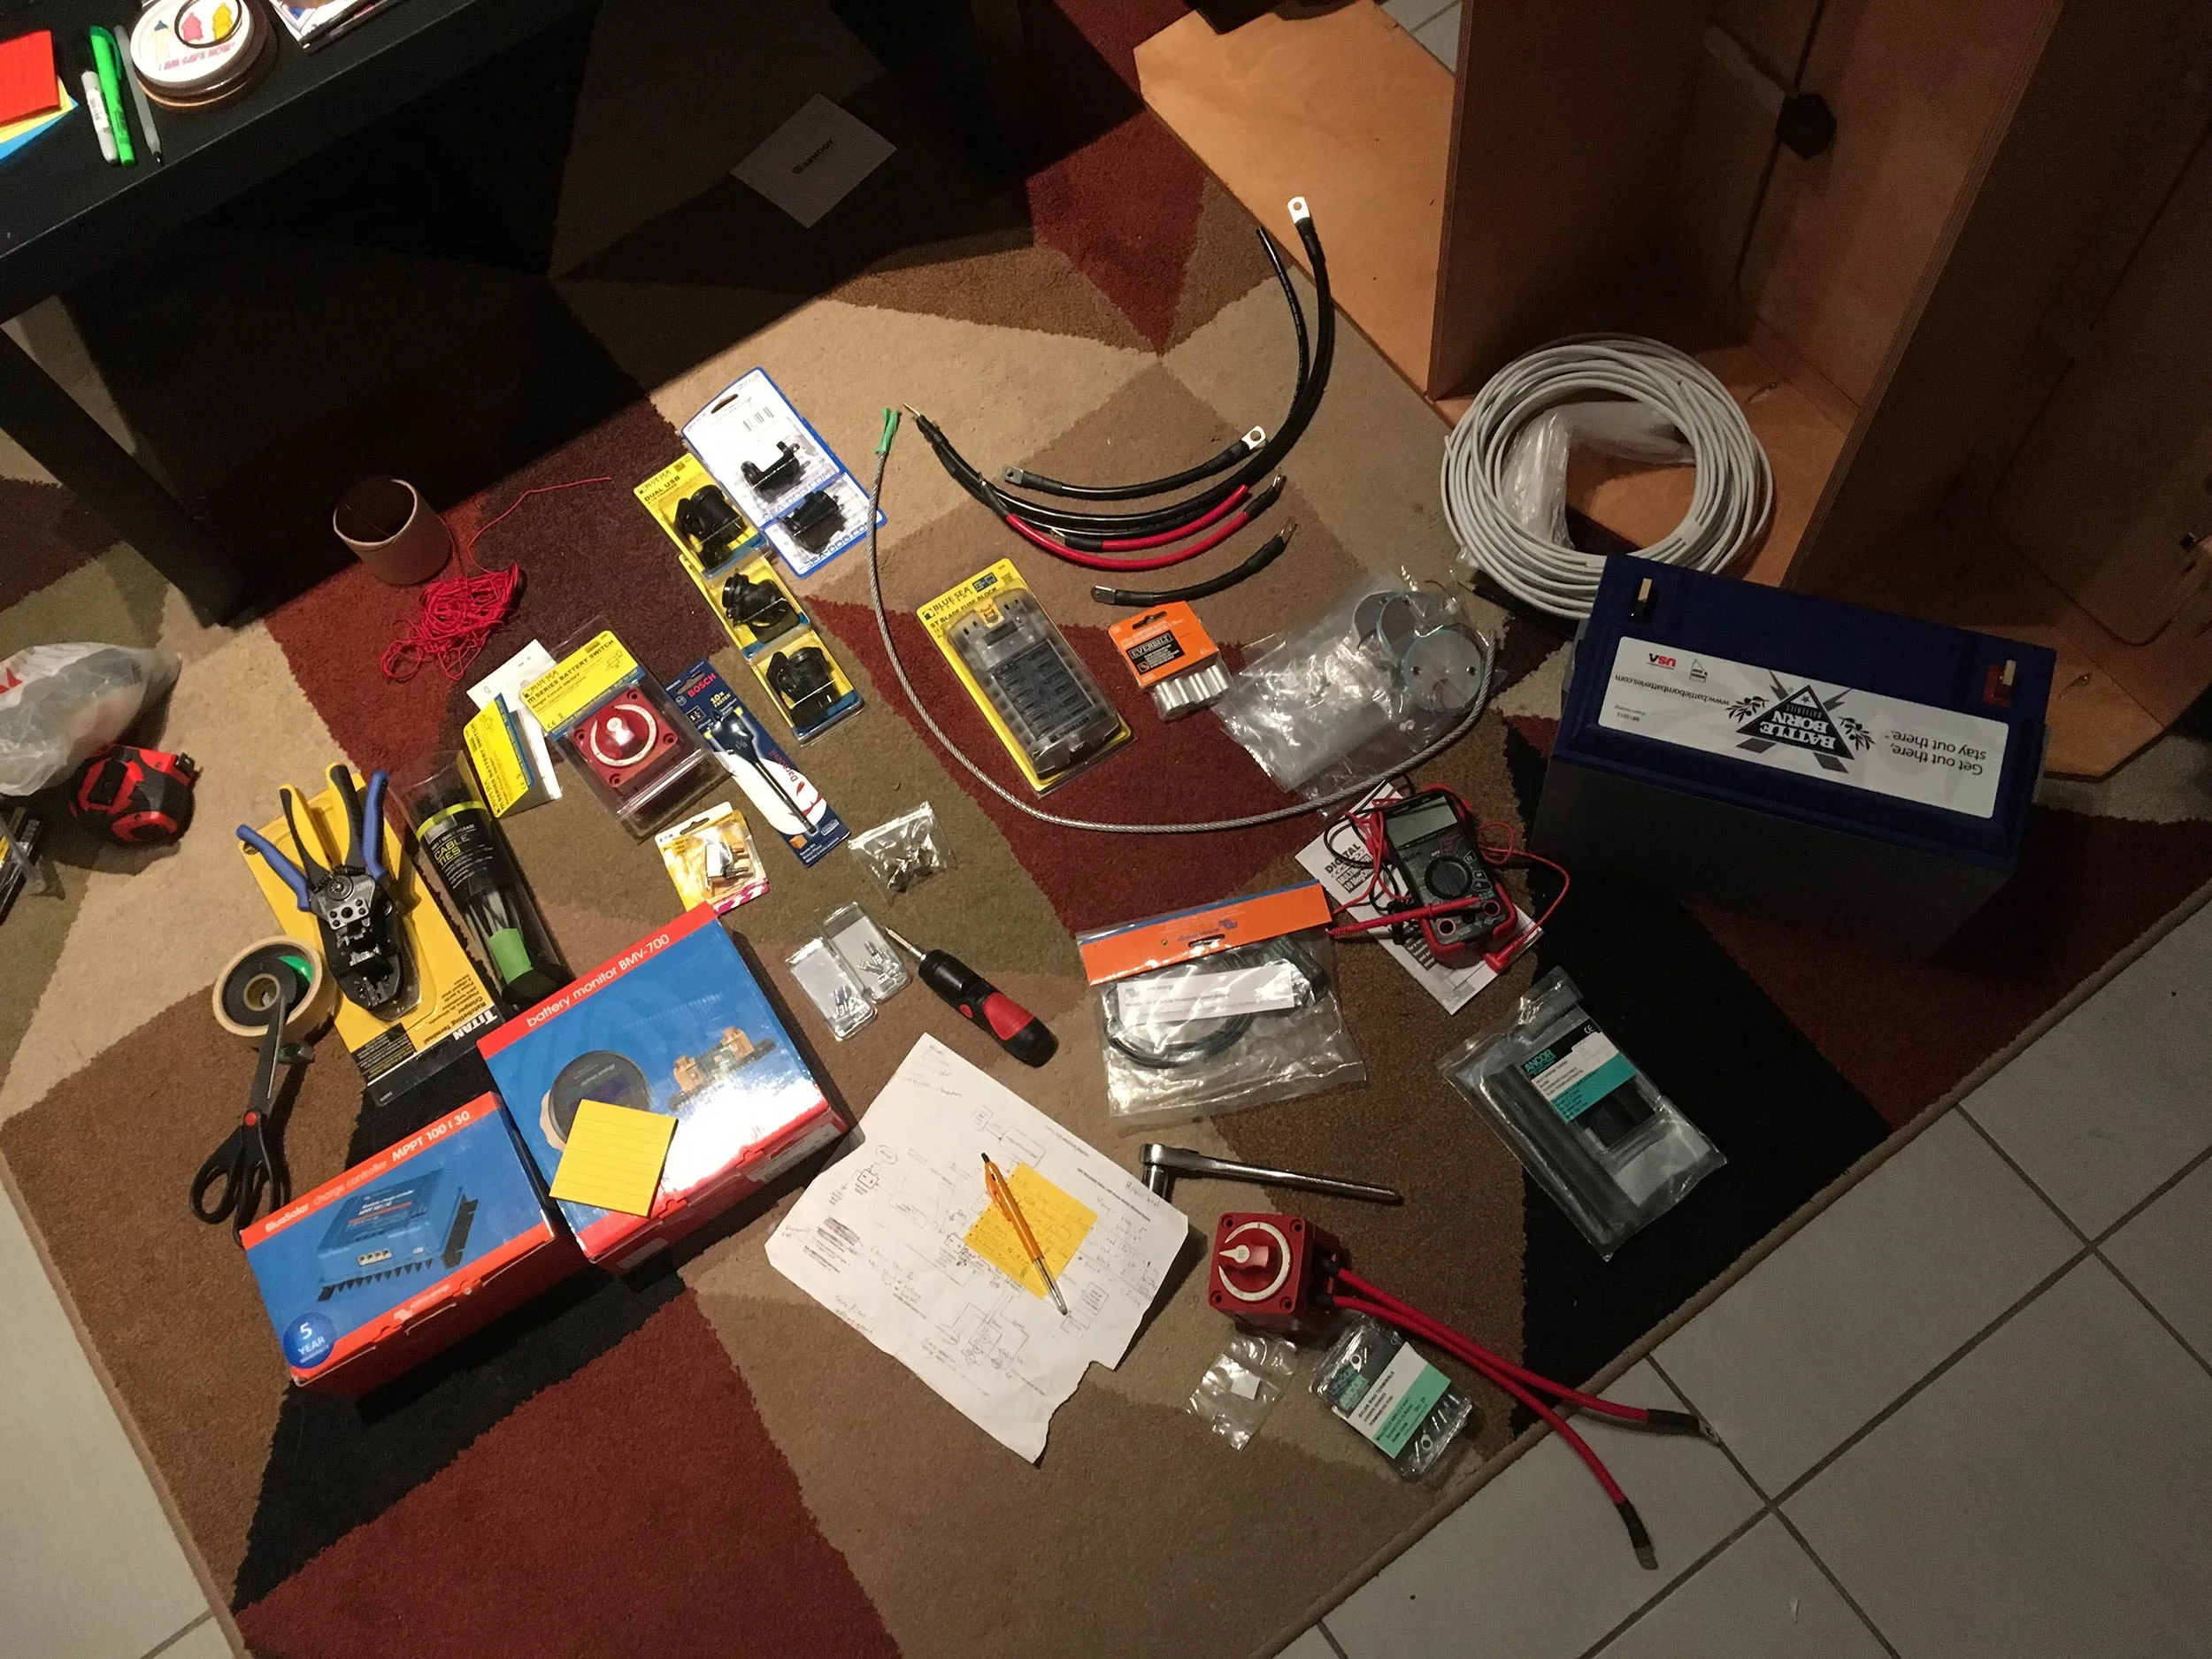
draw.io was super helpful in laying everything out in flowchart form... this diagram started out as sketches on napkins, then to graph paper, then onto draw.io to make everything super clear. i have printed and adjusted this diagram countless times now, each time a supreme help when in the small space of the delica trying to figure out where to place all the wires. we started with the major parts of our system, then filled in the blanks by measuring out cable lengths with climbing rope and calculating gauges with the blue sea systems circuit wizard online and as a phone app. now that i'm on a first name basis with several of the super helpful staff at Steveston Marine (where you can find me re-crimping large gauge cables most days of the week). now would also be a good time to share some super helpful links that helped me learn about electrical systems and how to wire (and in general understand) a campervan electrical system:
the main issues you'll find when you look at people's builds online is that your system will probably be slightly different than theirs. the Lithium battery in our system was often the main work around in finding components that would play nice, but luckily Battle Born has done tons of research and trials on what components work the best with their batteries and the best ways to set them up to optimize your power.


to be continued...