cedar tongue and groove walls and ceiling
when we decided to rip the ceiling panel off to cut a hole in the roof for the fan, we knew we would try to put some kind of covering up that made the van feel a little more like a tiny house. we decided we would use tongue and groove planking, and thought cedar looked and smelled the best — and also has some good properties for keeping pests away…


the basic idea is to screw thin runners of wood into the interior metal pieces of the van — not the van body, definitely don’t want to put a screw through the body… we saw people do this in many different ways, using all kinds of specialized screws, but we found that just screwing the wood in with basic supplies worked fine, and has held up with minimal gaps 2.5 years later — even after all that banging around on terrible roads down south.


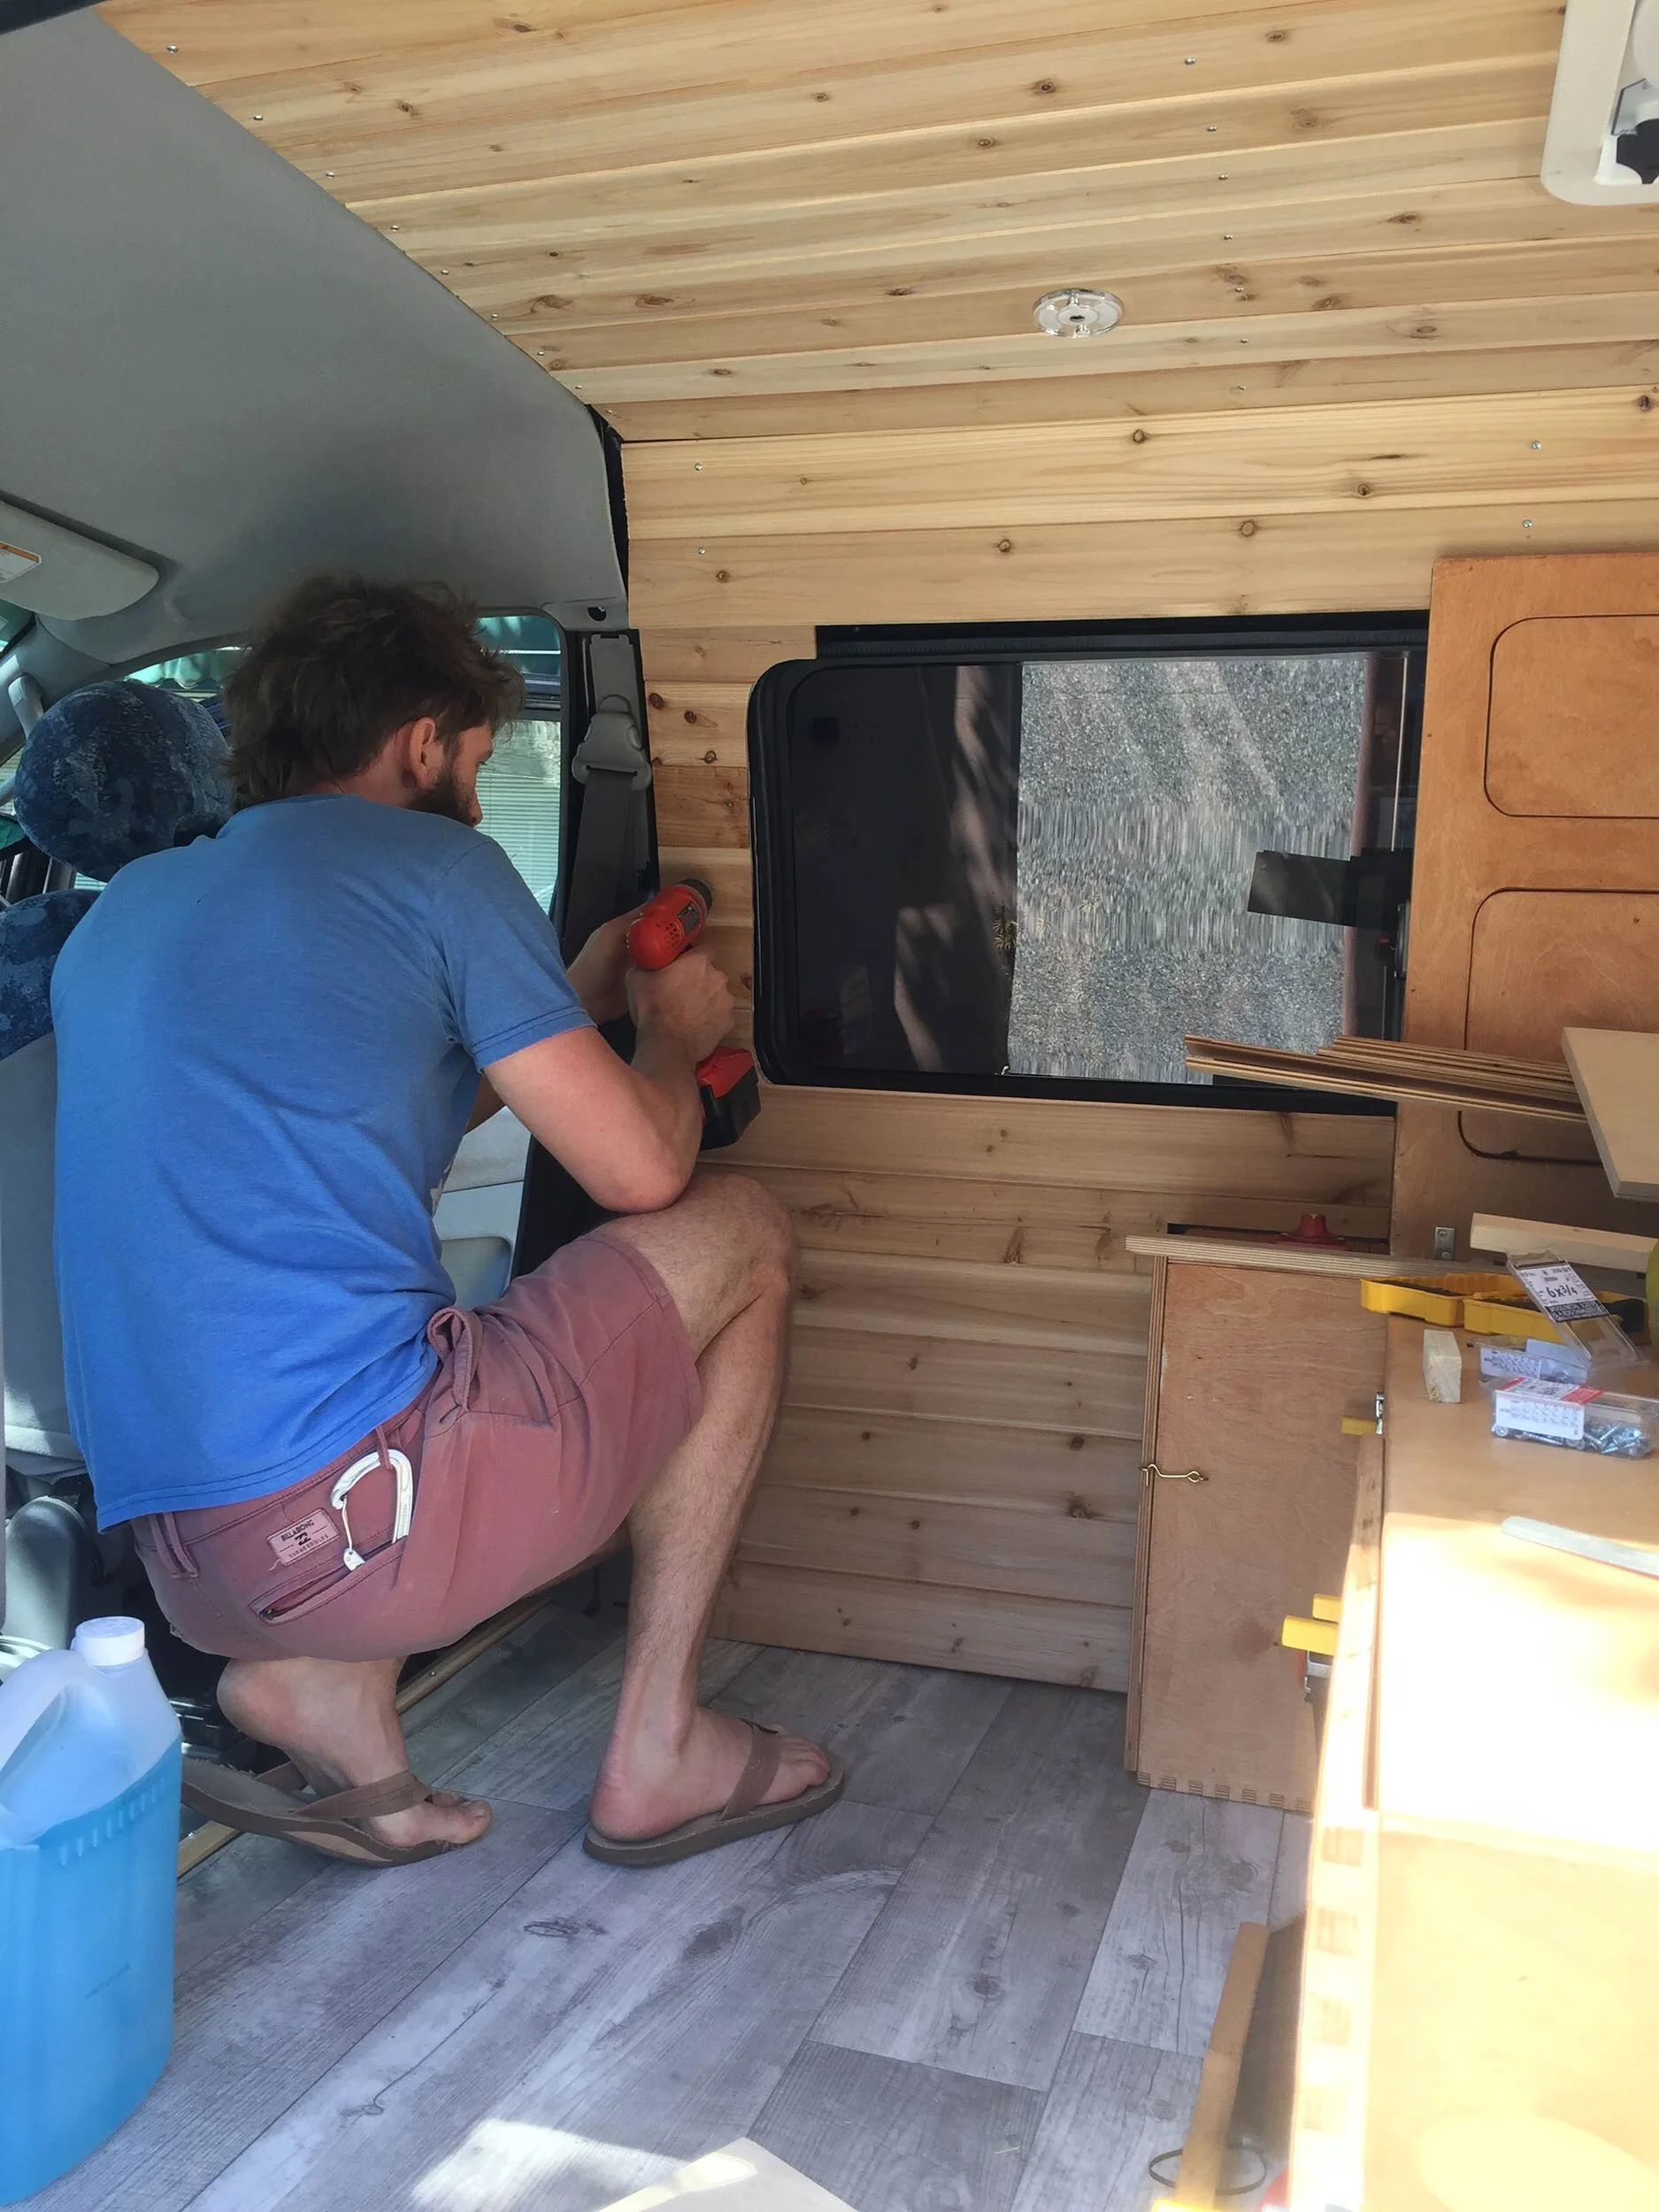
then it’s just a matter of screwing each plank into the runner strips you already screwed to the van. get the tongue in the groove nice and tight, then screw it in. a couple considerations:
1. make sure you drill any holes and wire any electrical you need to do before putting everything up.
2. we did the ceiling to the edge, and the walls up to the ceiling, then put an angled piece to cover any gap. if you run wires here, this lets you access some electrical stuff easier so you don’t have to take the whole ceiling down if you run into an issue with a light…
3. for smaller areas of plank, we found it helpful to make a small piece free of the van, glue/tape it, then affix it to the van in a panel — for the piece in front of the battery box for instance, it has a piece of corrugated board on the back that lets us remove the whole panel as we access that area from time to time.